Introduction
Typically, on an Nginx server, if a request to your server can’t be completed then Nginx will choose the first virtual server it can to serve alphanumerically.
You might have seen this happen when you have the HSTS header for a site cached in your browser and then you create a new site on a vCanopy server and you are redirected to a logged out Server Stats URL. This is because the server is receiving an HTTPS request for a URL that is only listening on the HTTP port, so it can’t server it… so Nginx defaults to serving the first HTTPS response it can from its available configurations.
You might also have noticed that this will happen if you try to visit your server by it’s IP.
The Default Virtual Server
vCanopy now solves this issue by creating and setting a secure default Nginx virtual server. If you need to set (or reset) this on any of your existing servers you can do so with the following command:
gp site default -set-nginx-default
When this is active, it has a self-signed SSL certificate and will drop any requests with a 444 response.
This means that requests to the server IP or those made to any site over HTTPS when there is no SSL will now just be dropped by default, and you will no longer see the sign-on error pages.
Setting a Website as the Default Site
There is a command in gp-cli that will allow you to set one of your sites as the Default site for Nginx to serve. If it receives any requests that it has no configuration for, it will default to this site.
The command is:
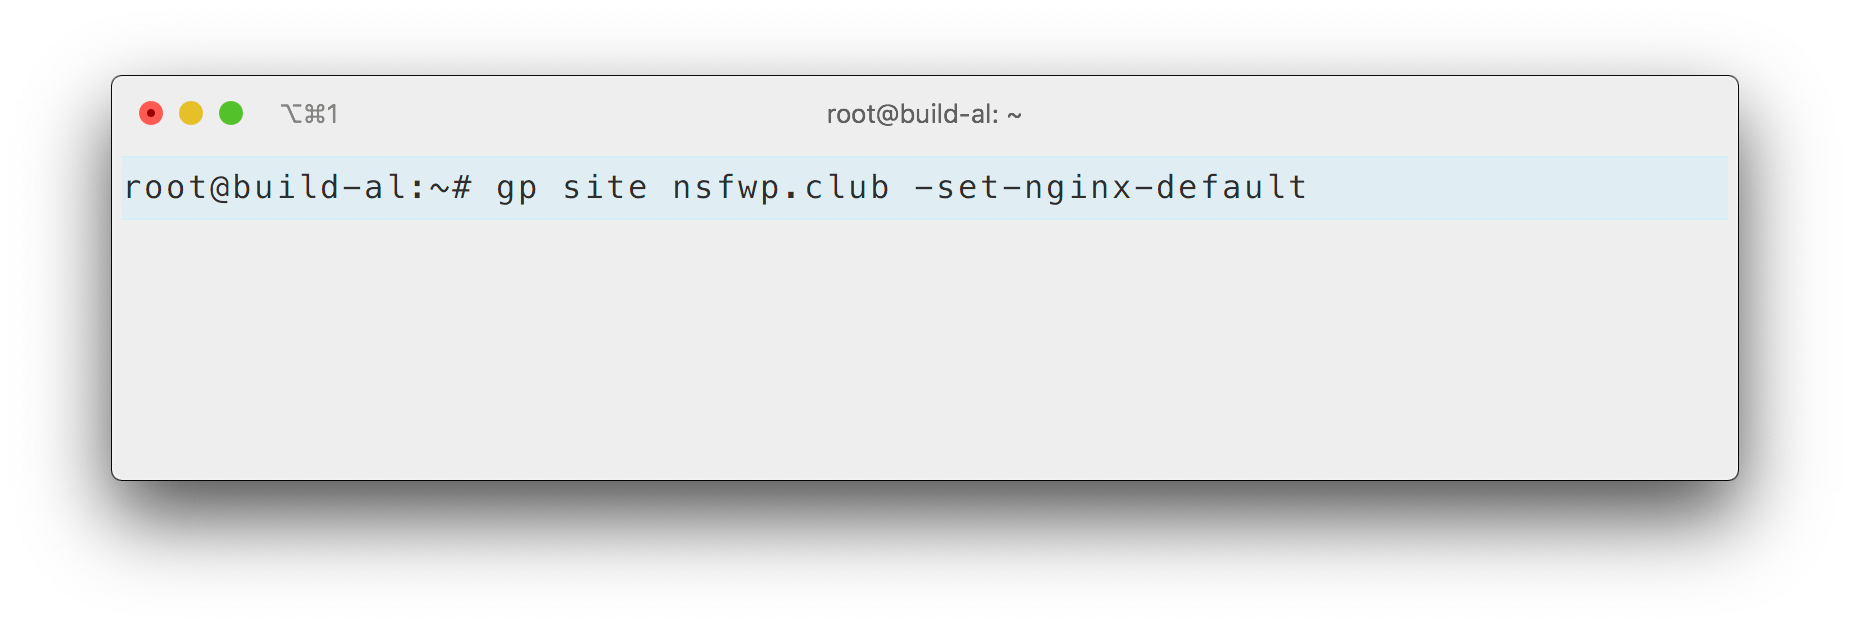
gp site {site.url} -set-nginx-defaultLet’s use an example site nsfwp.club

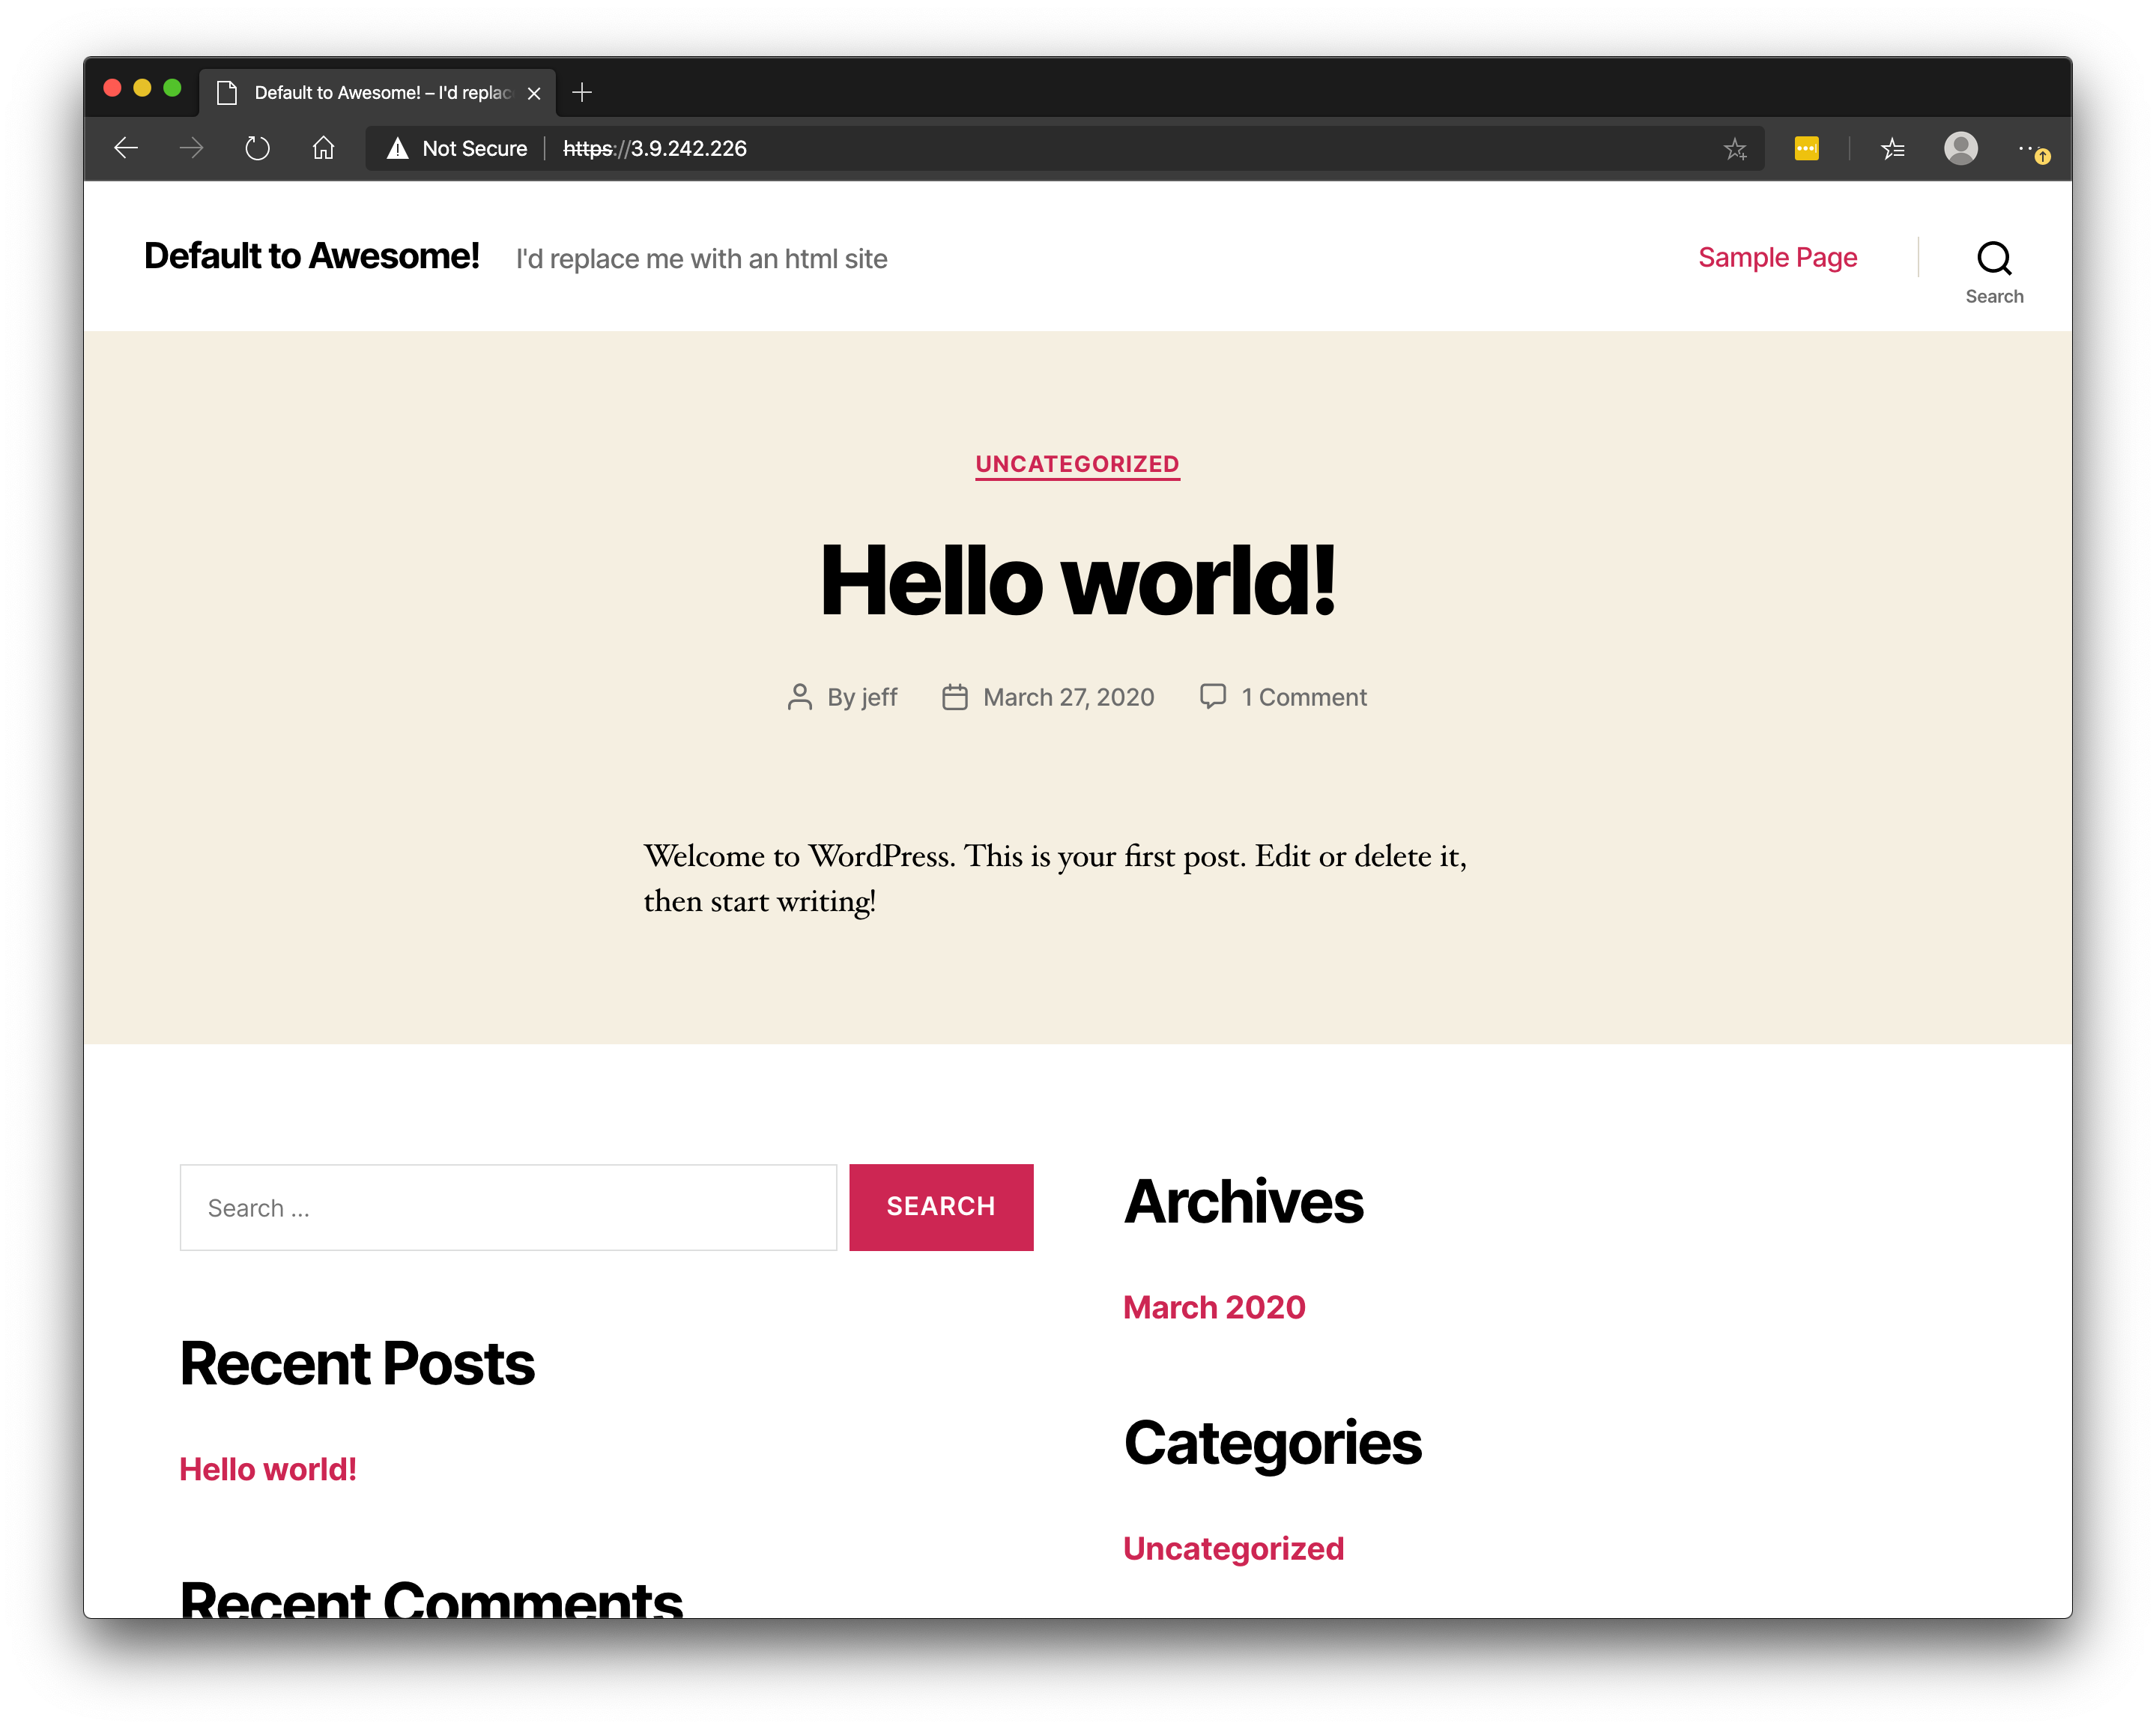
And now if we visit our server at it’s IP address we are served the nsfwp.club site:

You could combine this with the gp-cli suspend command:
gp site {site.url} -suspendAnd one of the holding page paths, to easily create an HTML holding page to use for your default catch-all page/site.
If at any point you would like to reset this to the default behaviour you can run the command detailed in the previous section above.
You can also change the default site by simply running the command again but replacing the “site.url: with the new URL.


