


ACTIVATING V2 BACKUPS ON SERVERS PROVISIONED BEFORE NOVEMBER 1ST
Warning: This will disable Borg and purge all existing Borg backups from your system. You are responsible for ensuring you have existing backups in place. By enabling Backups v2 you accept full responsibility for this action and confirm you have alternative backups in place. Only enable if you agree to these conditions. Once enabled, this can not be disabled. Borg is going back to the Delta Quadrant.

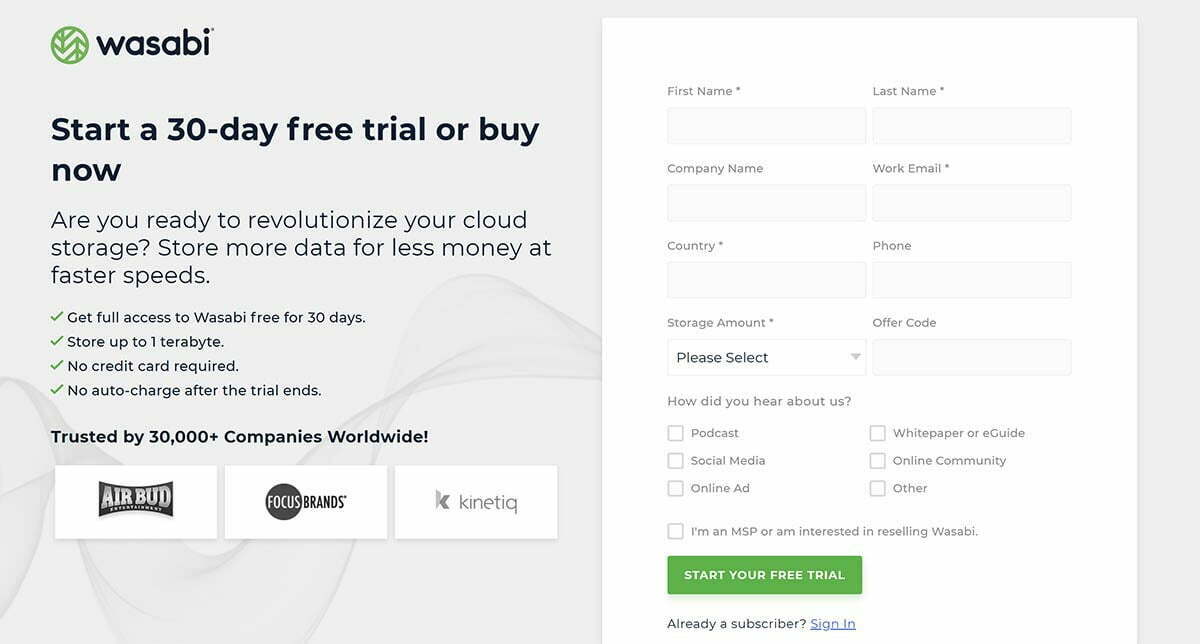
Step 1. Sign up for a Wasabi account
To get started head on over to https://wasabi.com/sign-up/ and create your account. At the time of writing it comes with a 30 day free trial. Be sure to set up your billing details before your free trial is up to prevent any loss of data.
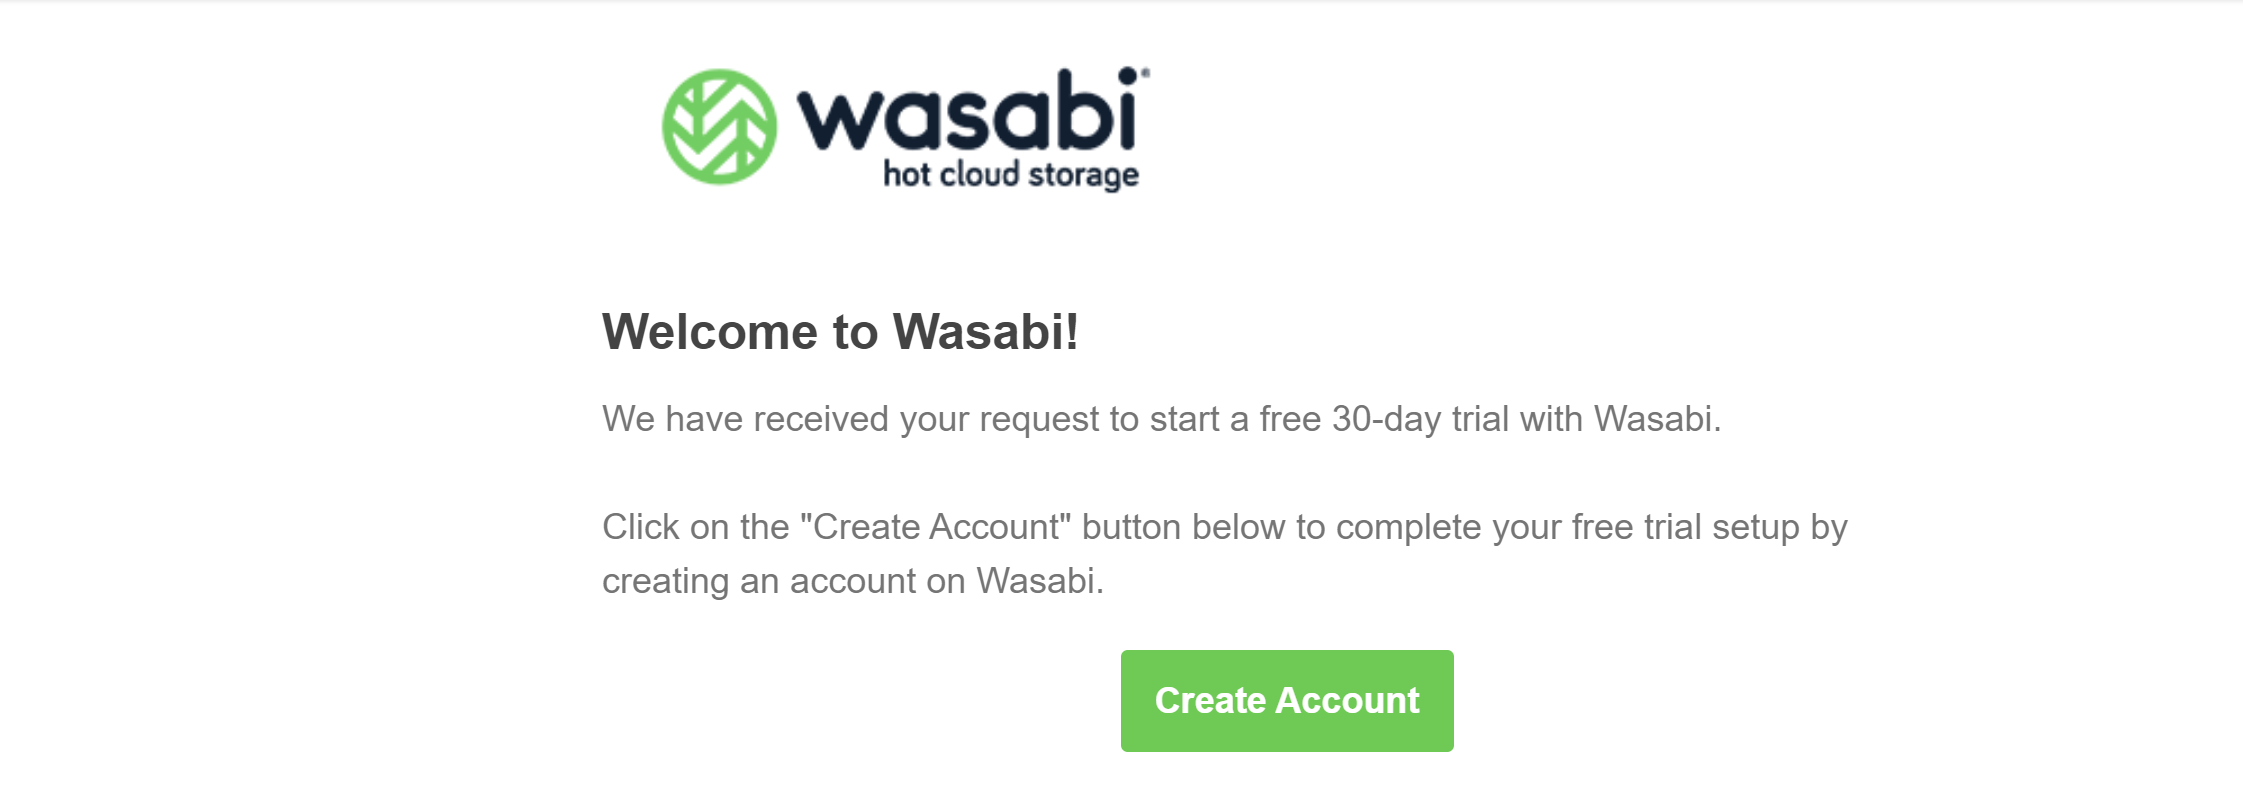
On completing the sign up form you’ll receive an email inviting you to create an account.
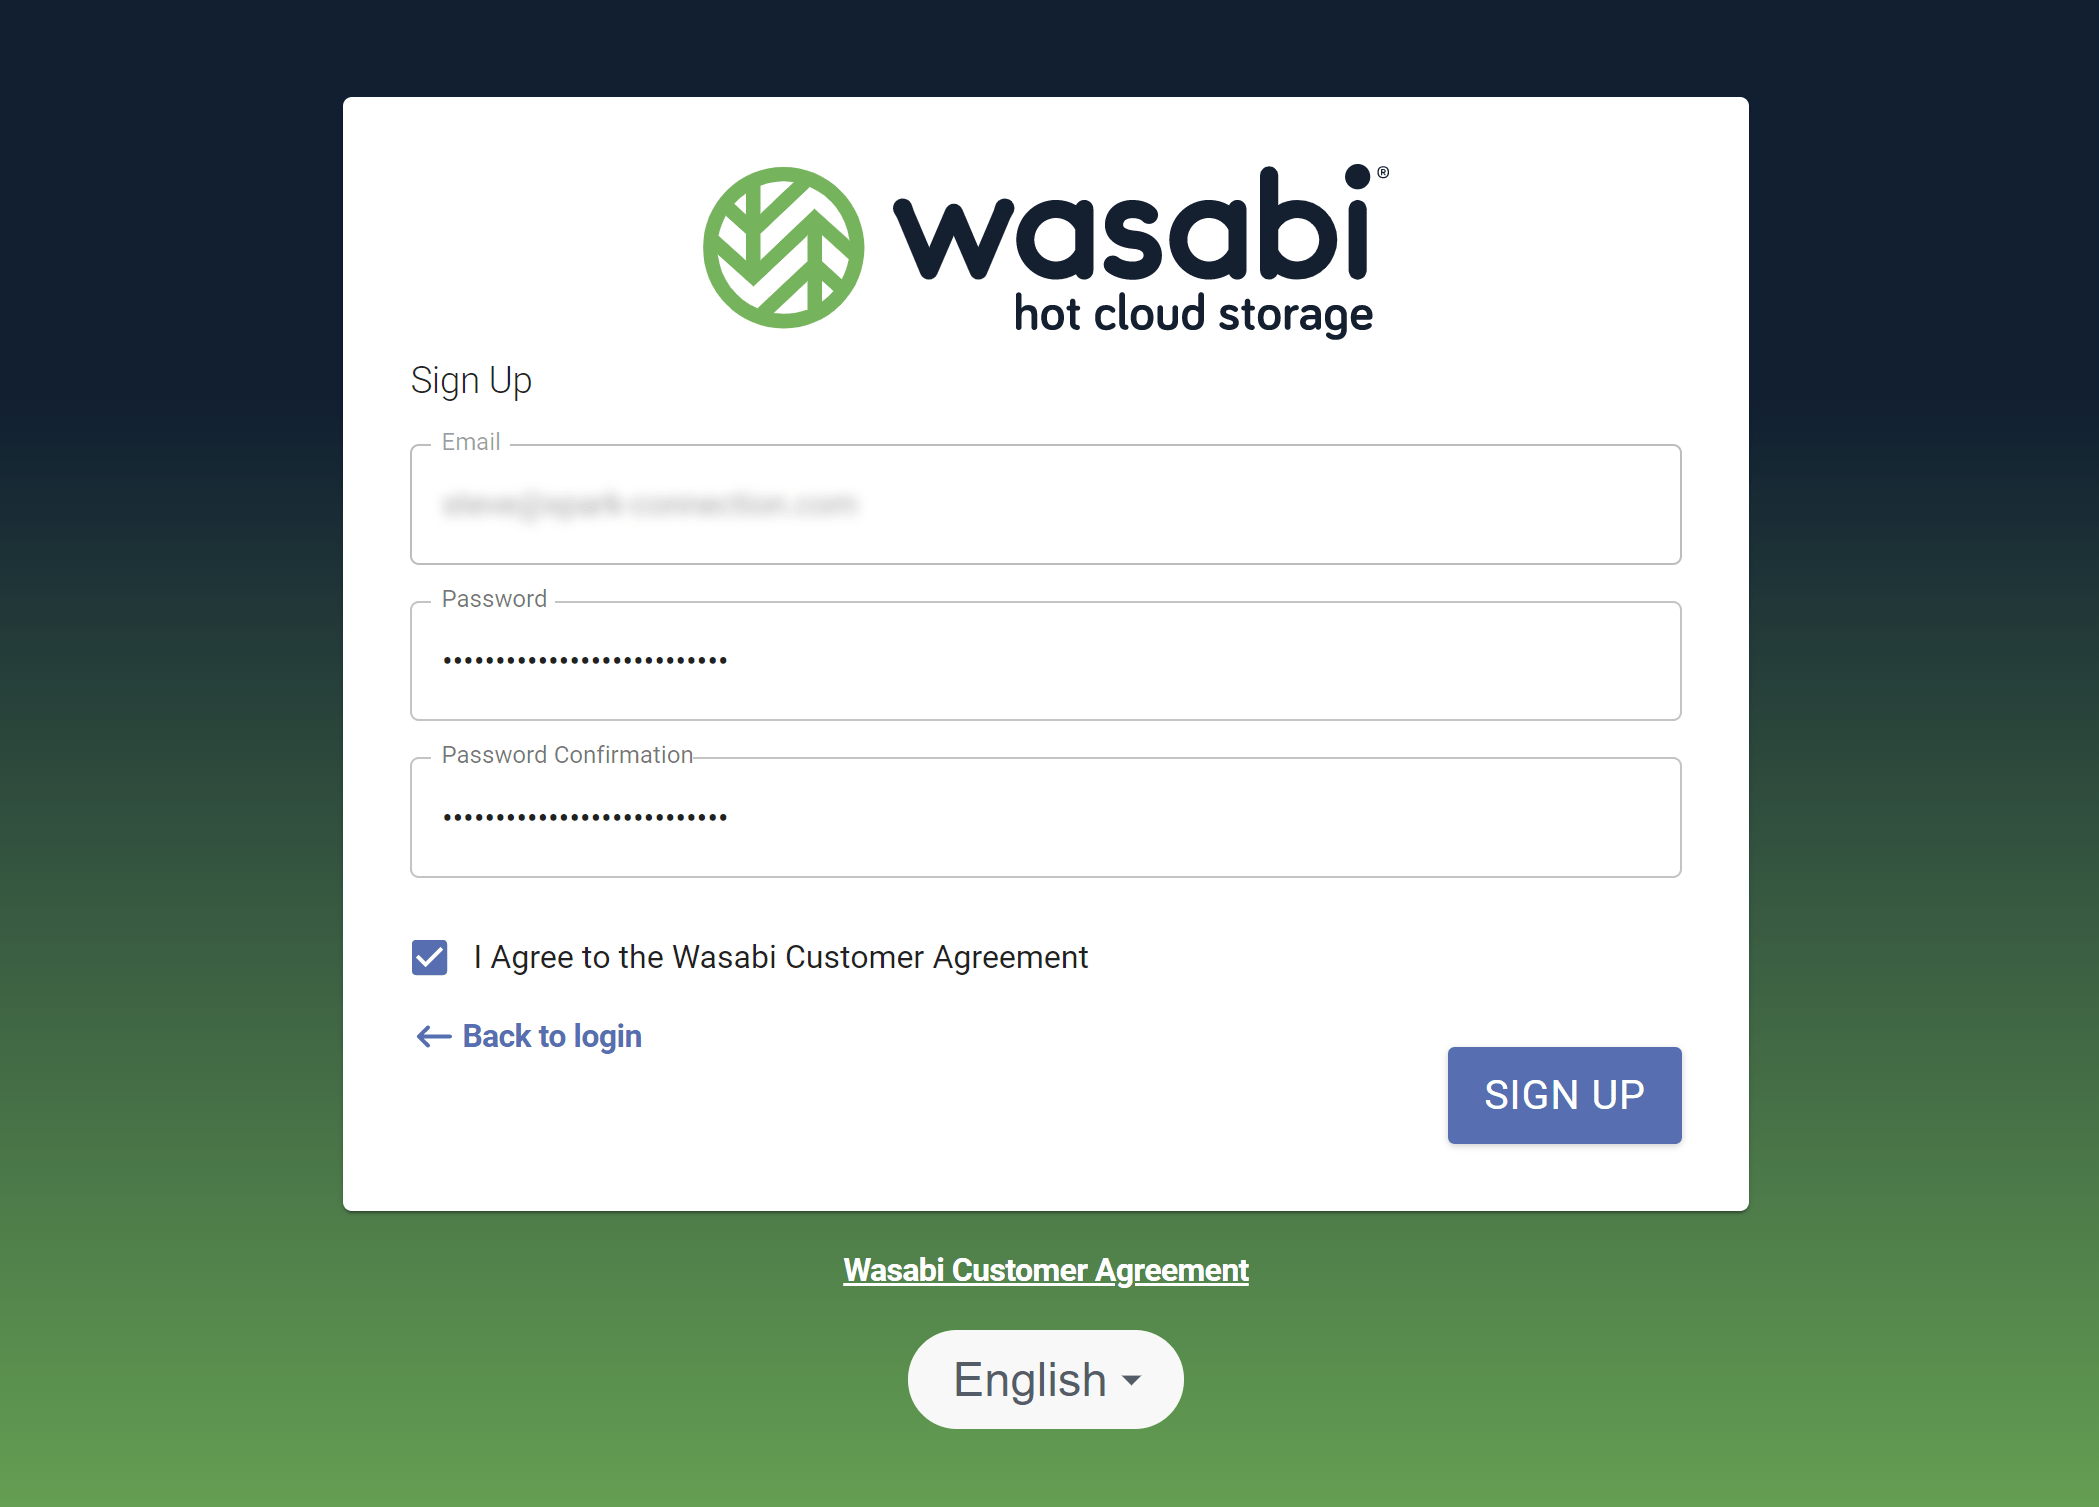
You’ll be taken to a page to complete your sign up.
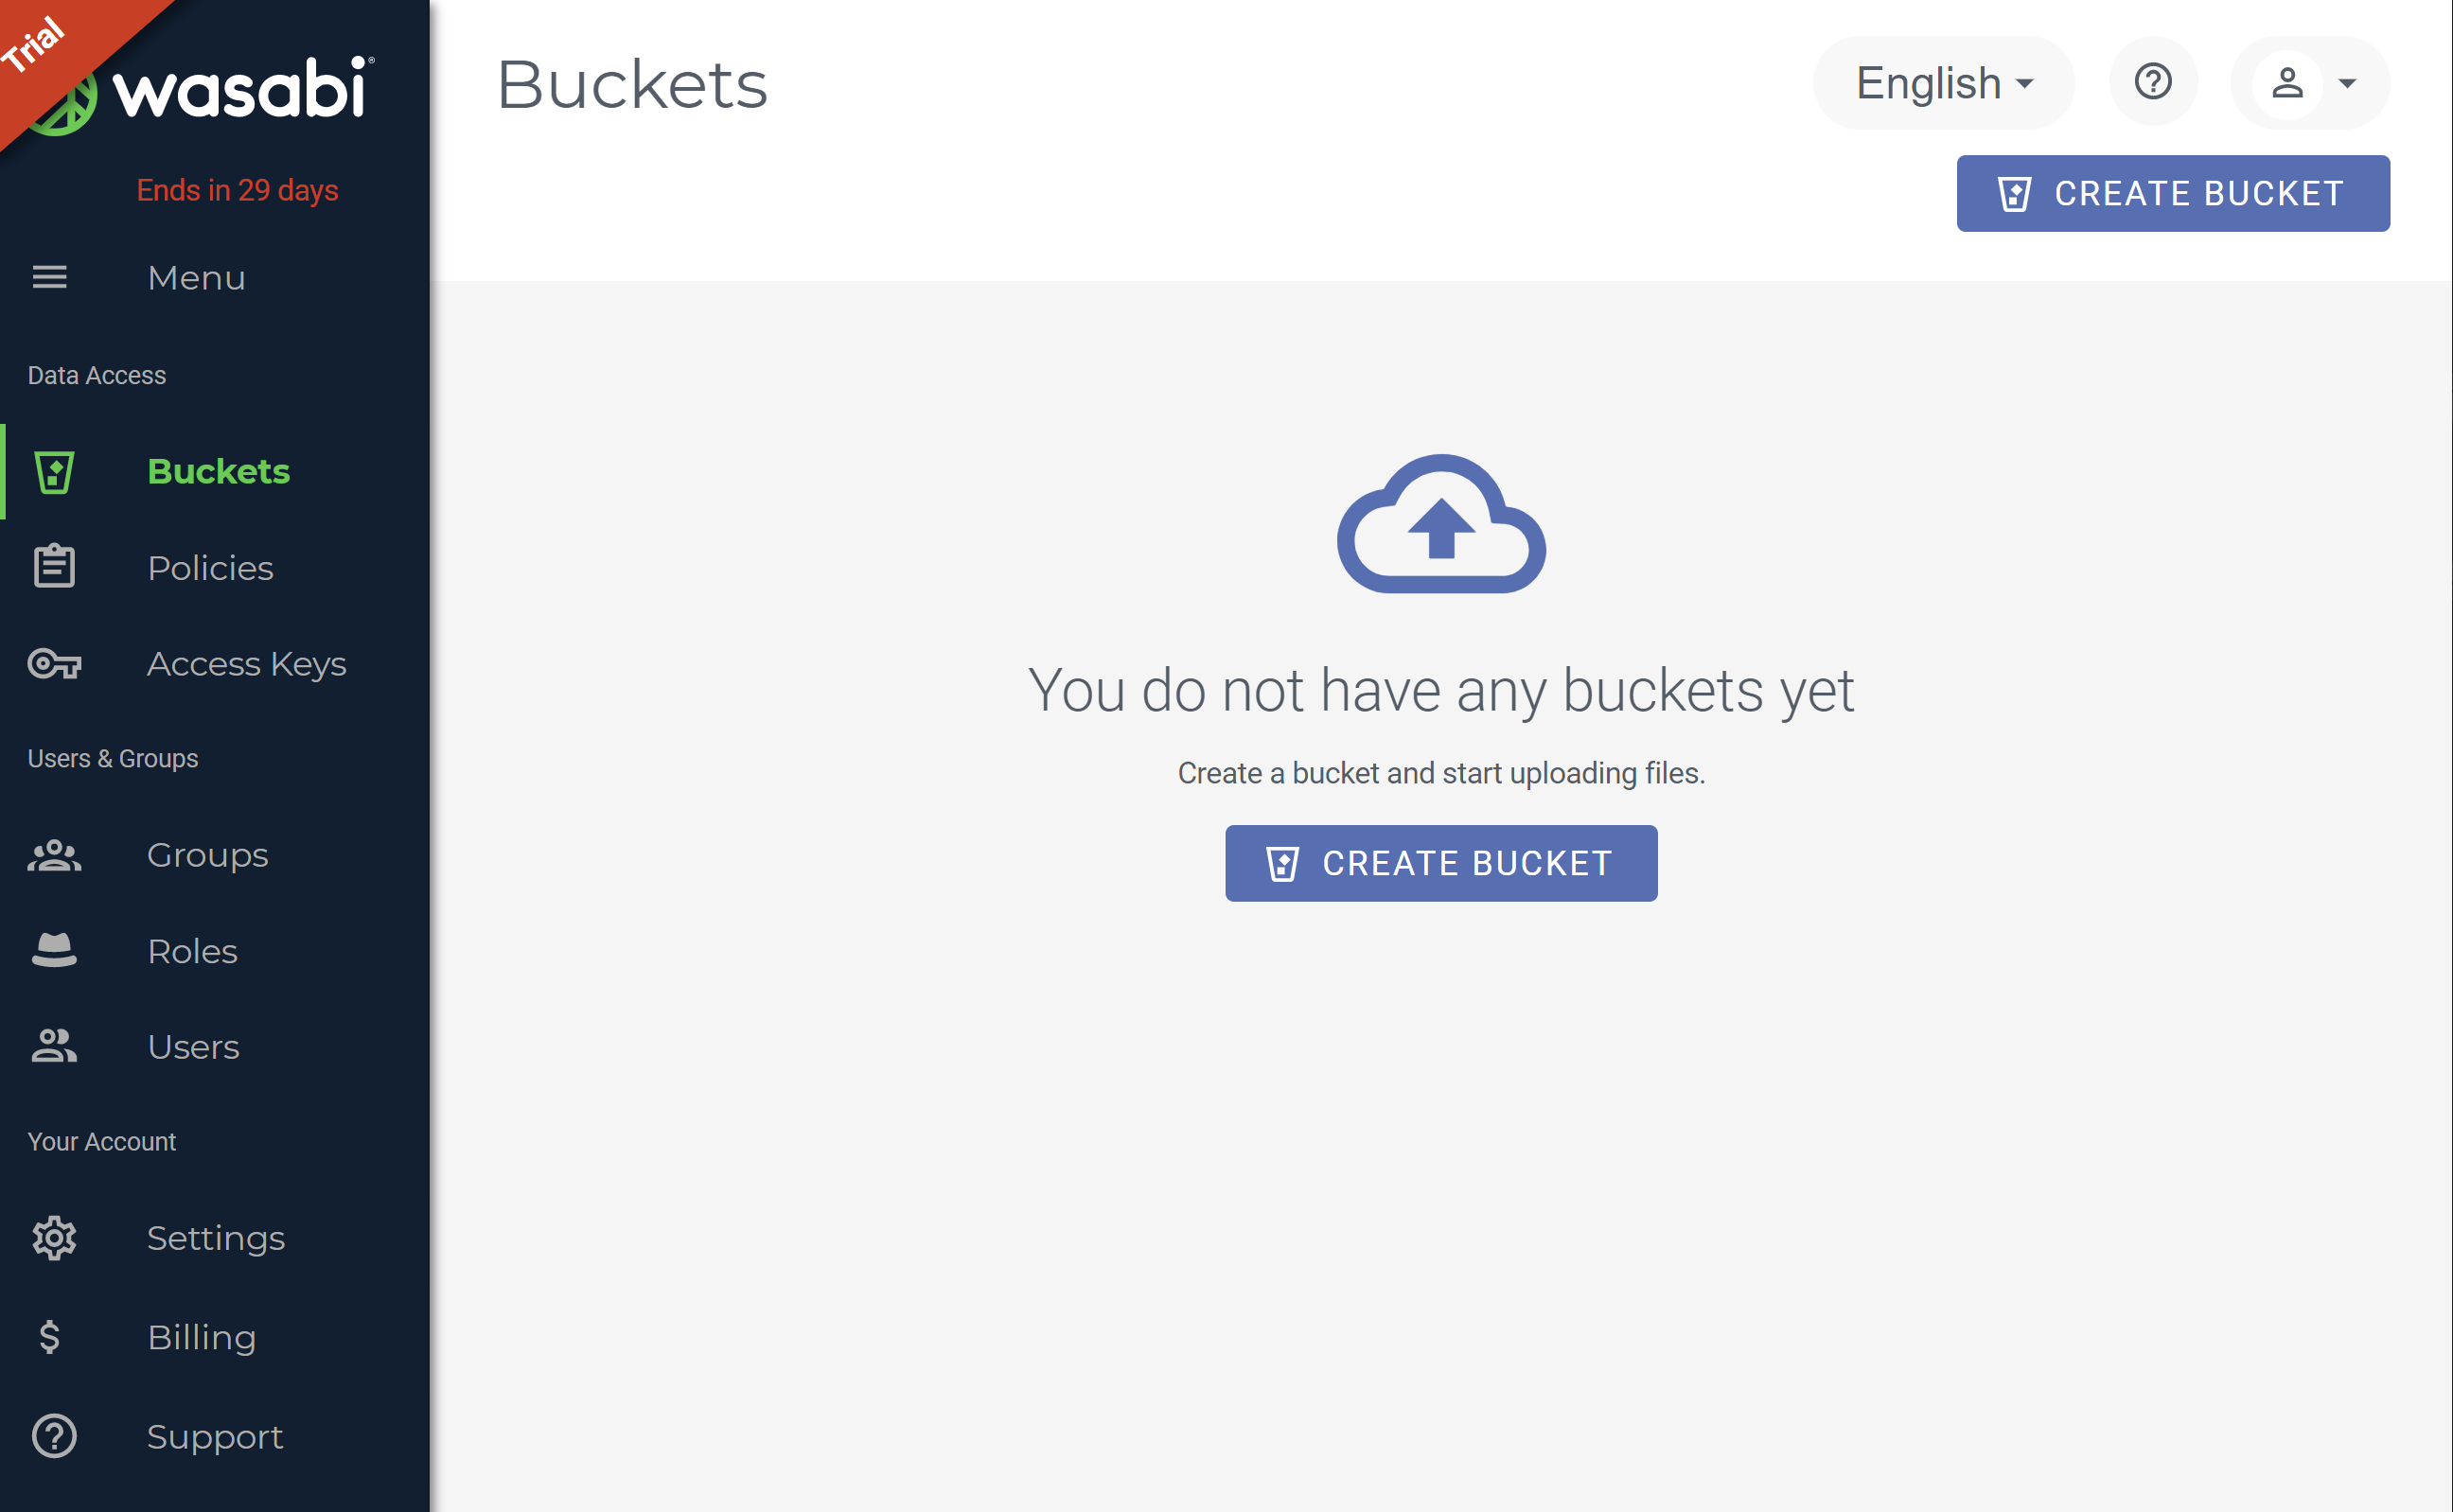
And you will then be logged into your new account.
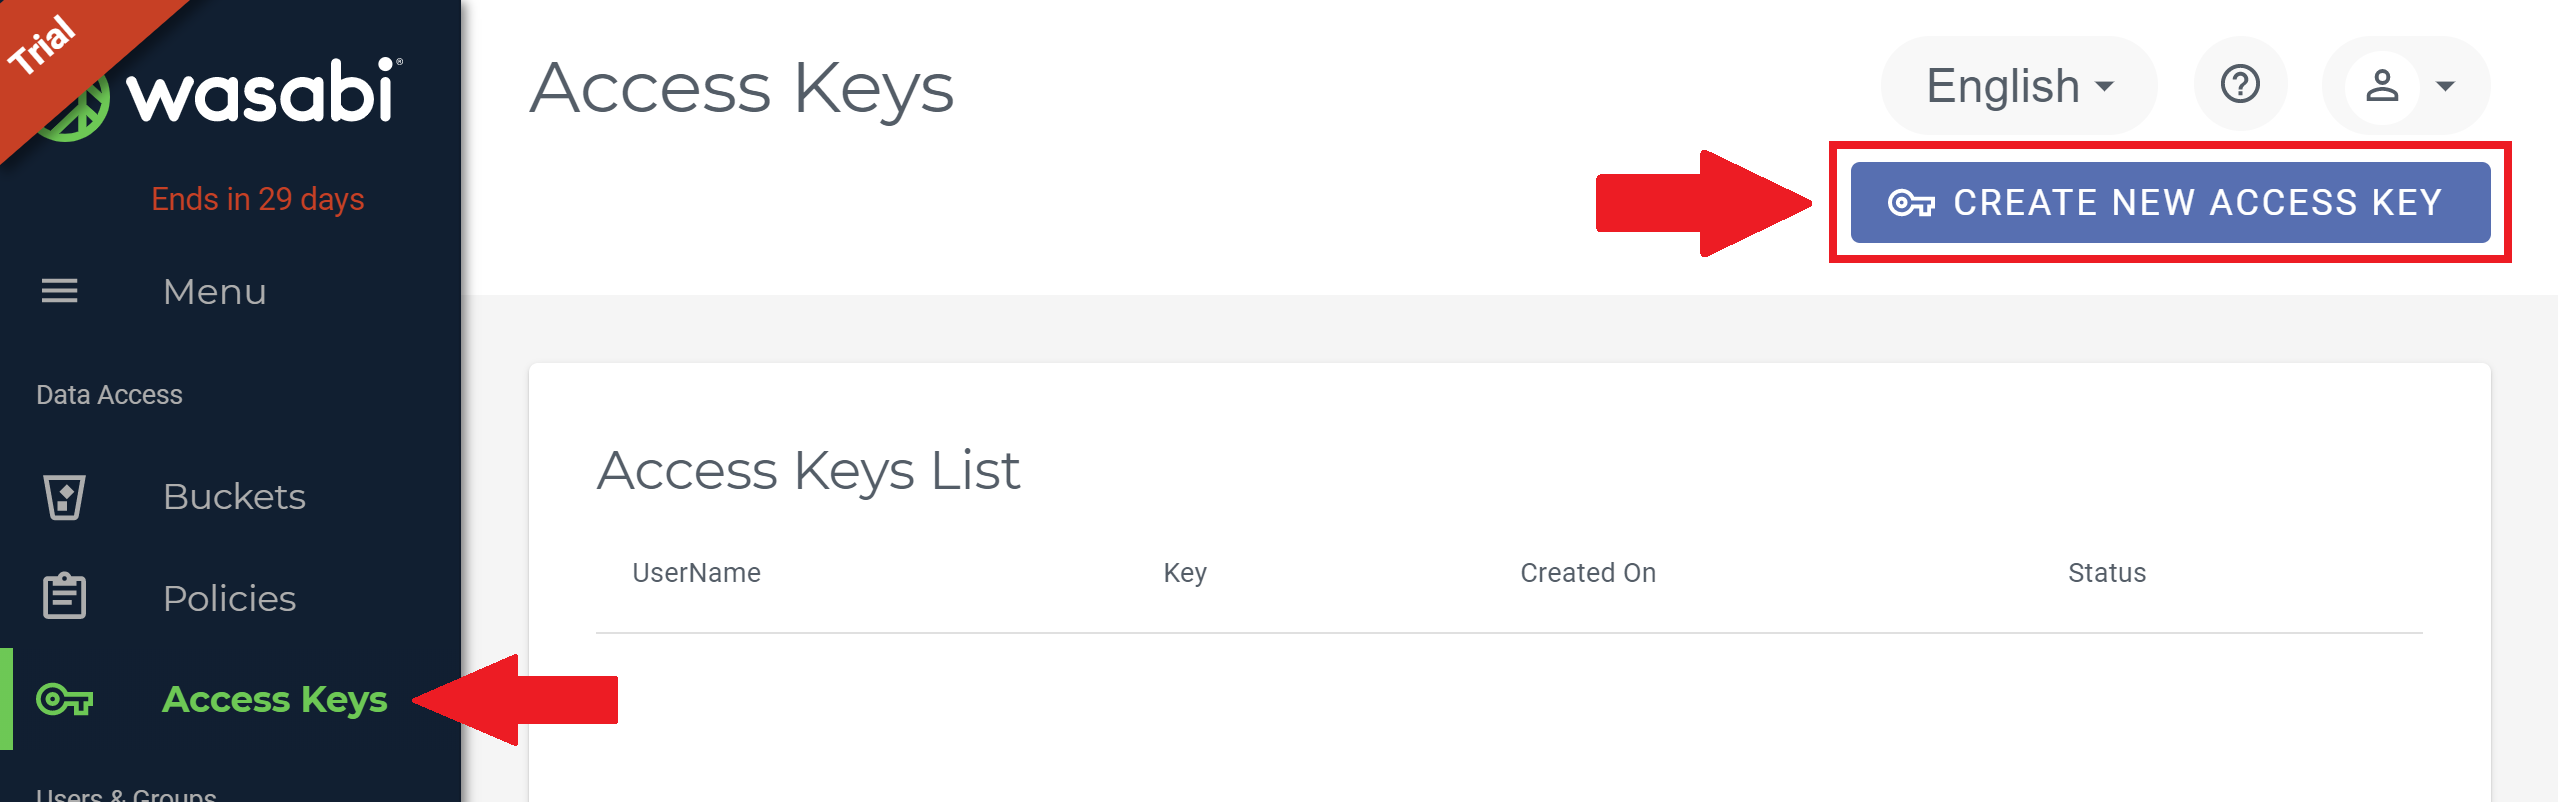
Step 2. Create Your Wasabi API Credentials
To create your credentials click through to the Access Keys page, and then click on the “Create New Access Key” button in the top right hand corner.
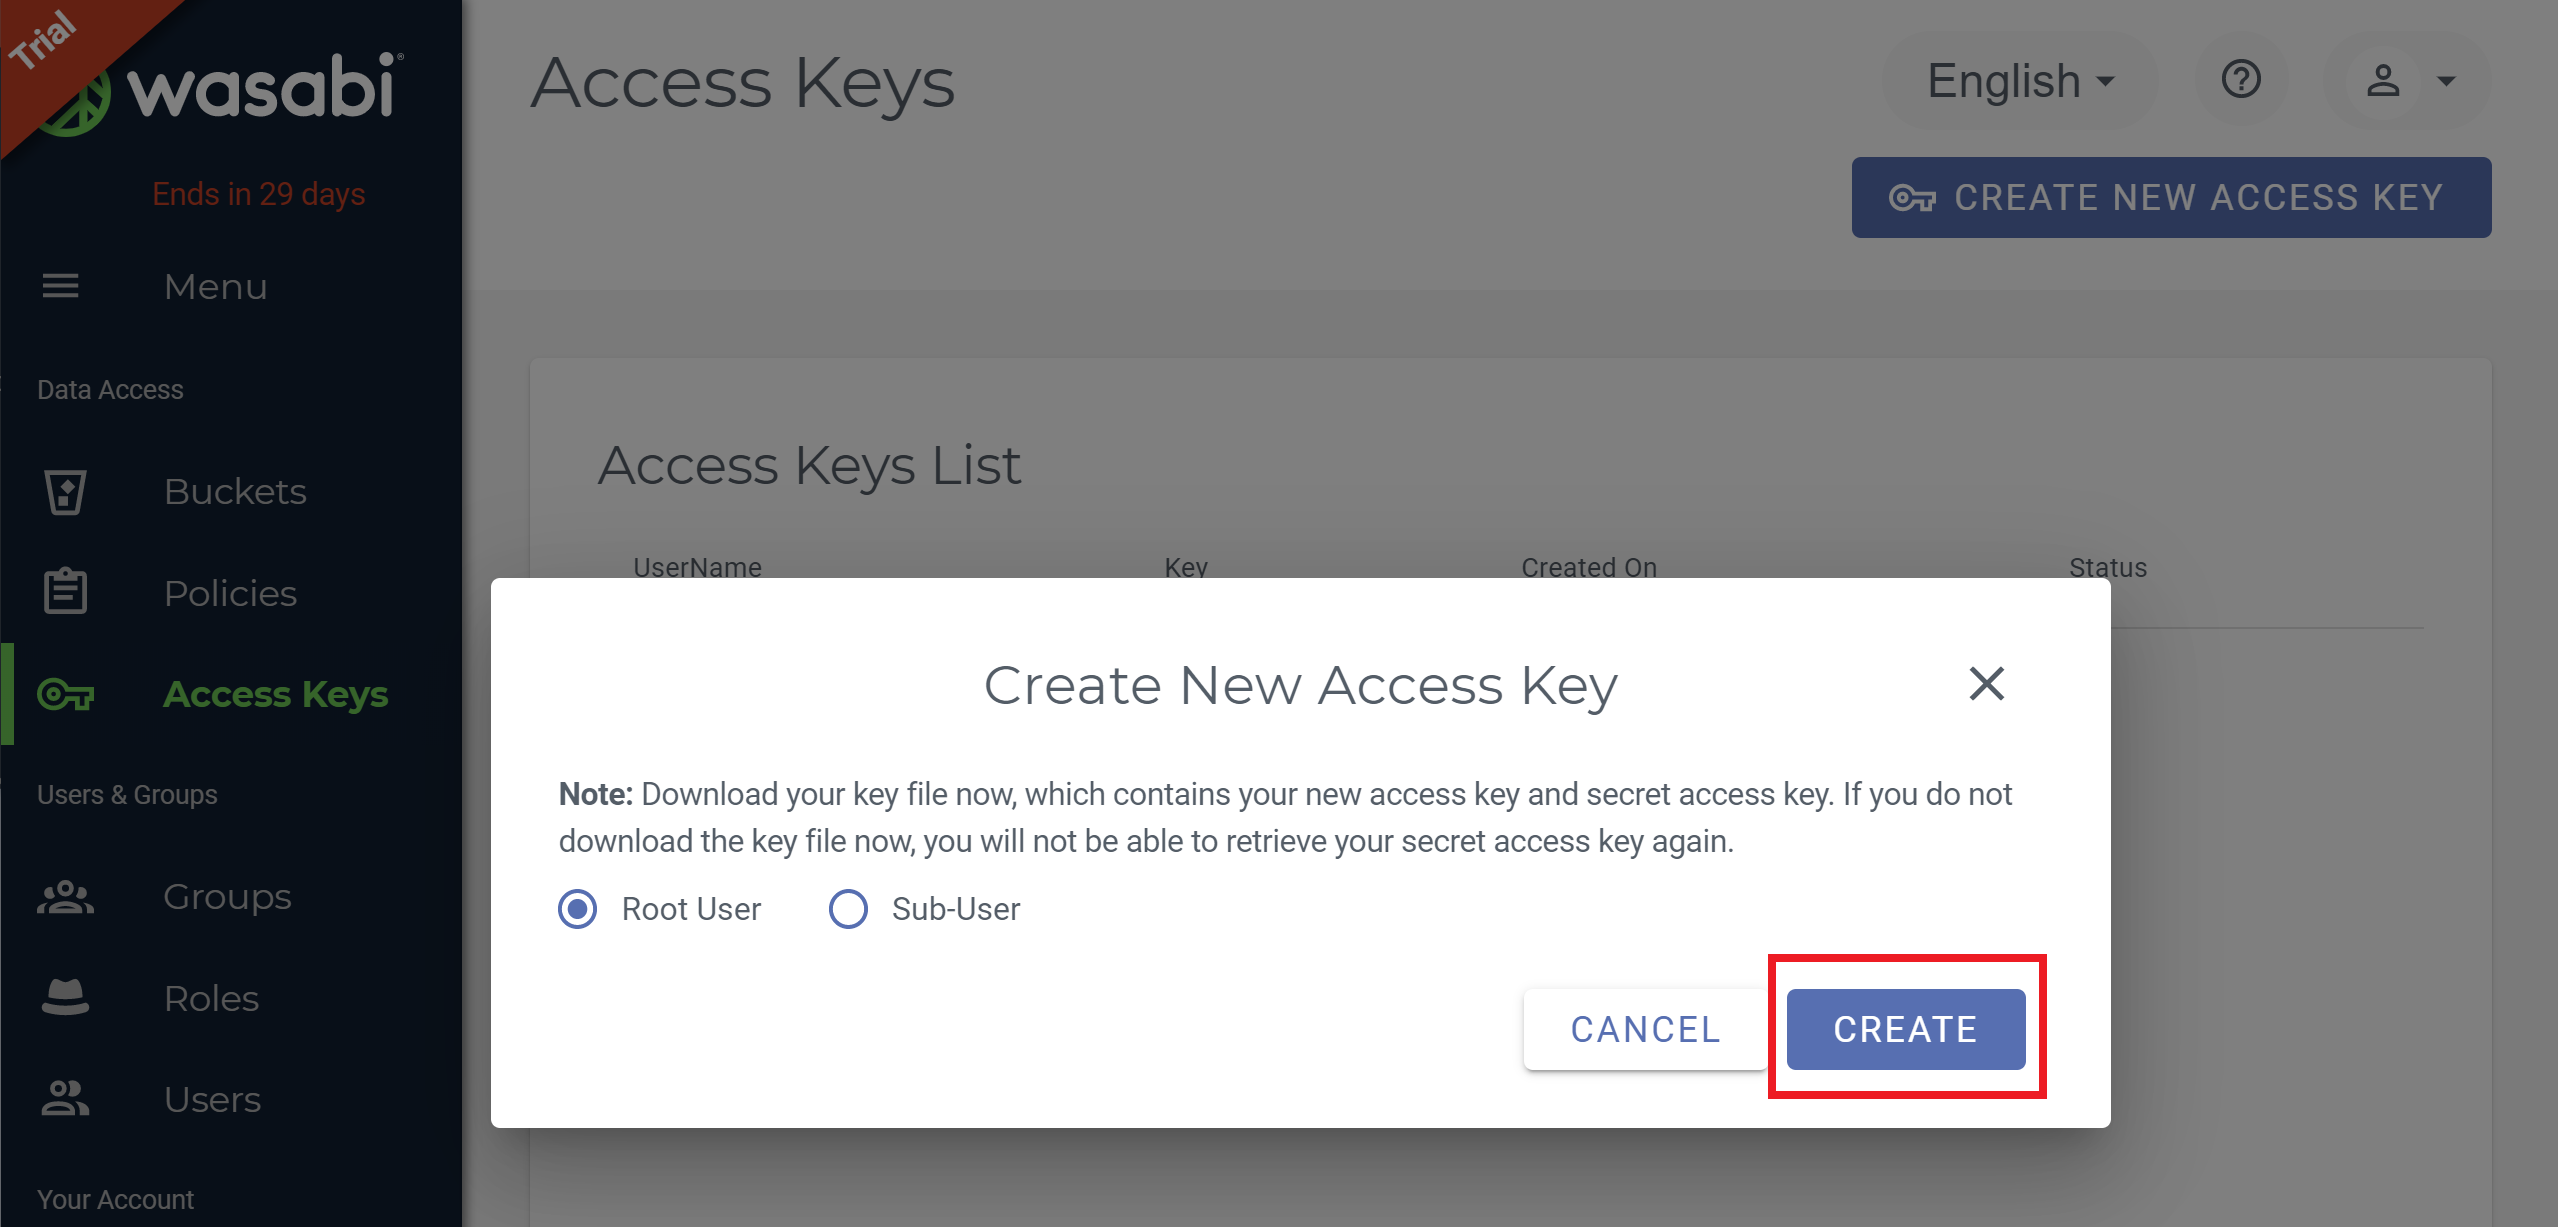
A modal will appear. Select “Root User” and then click on the Create button.
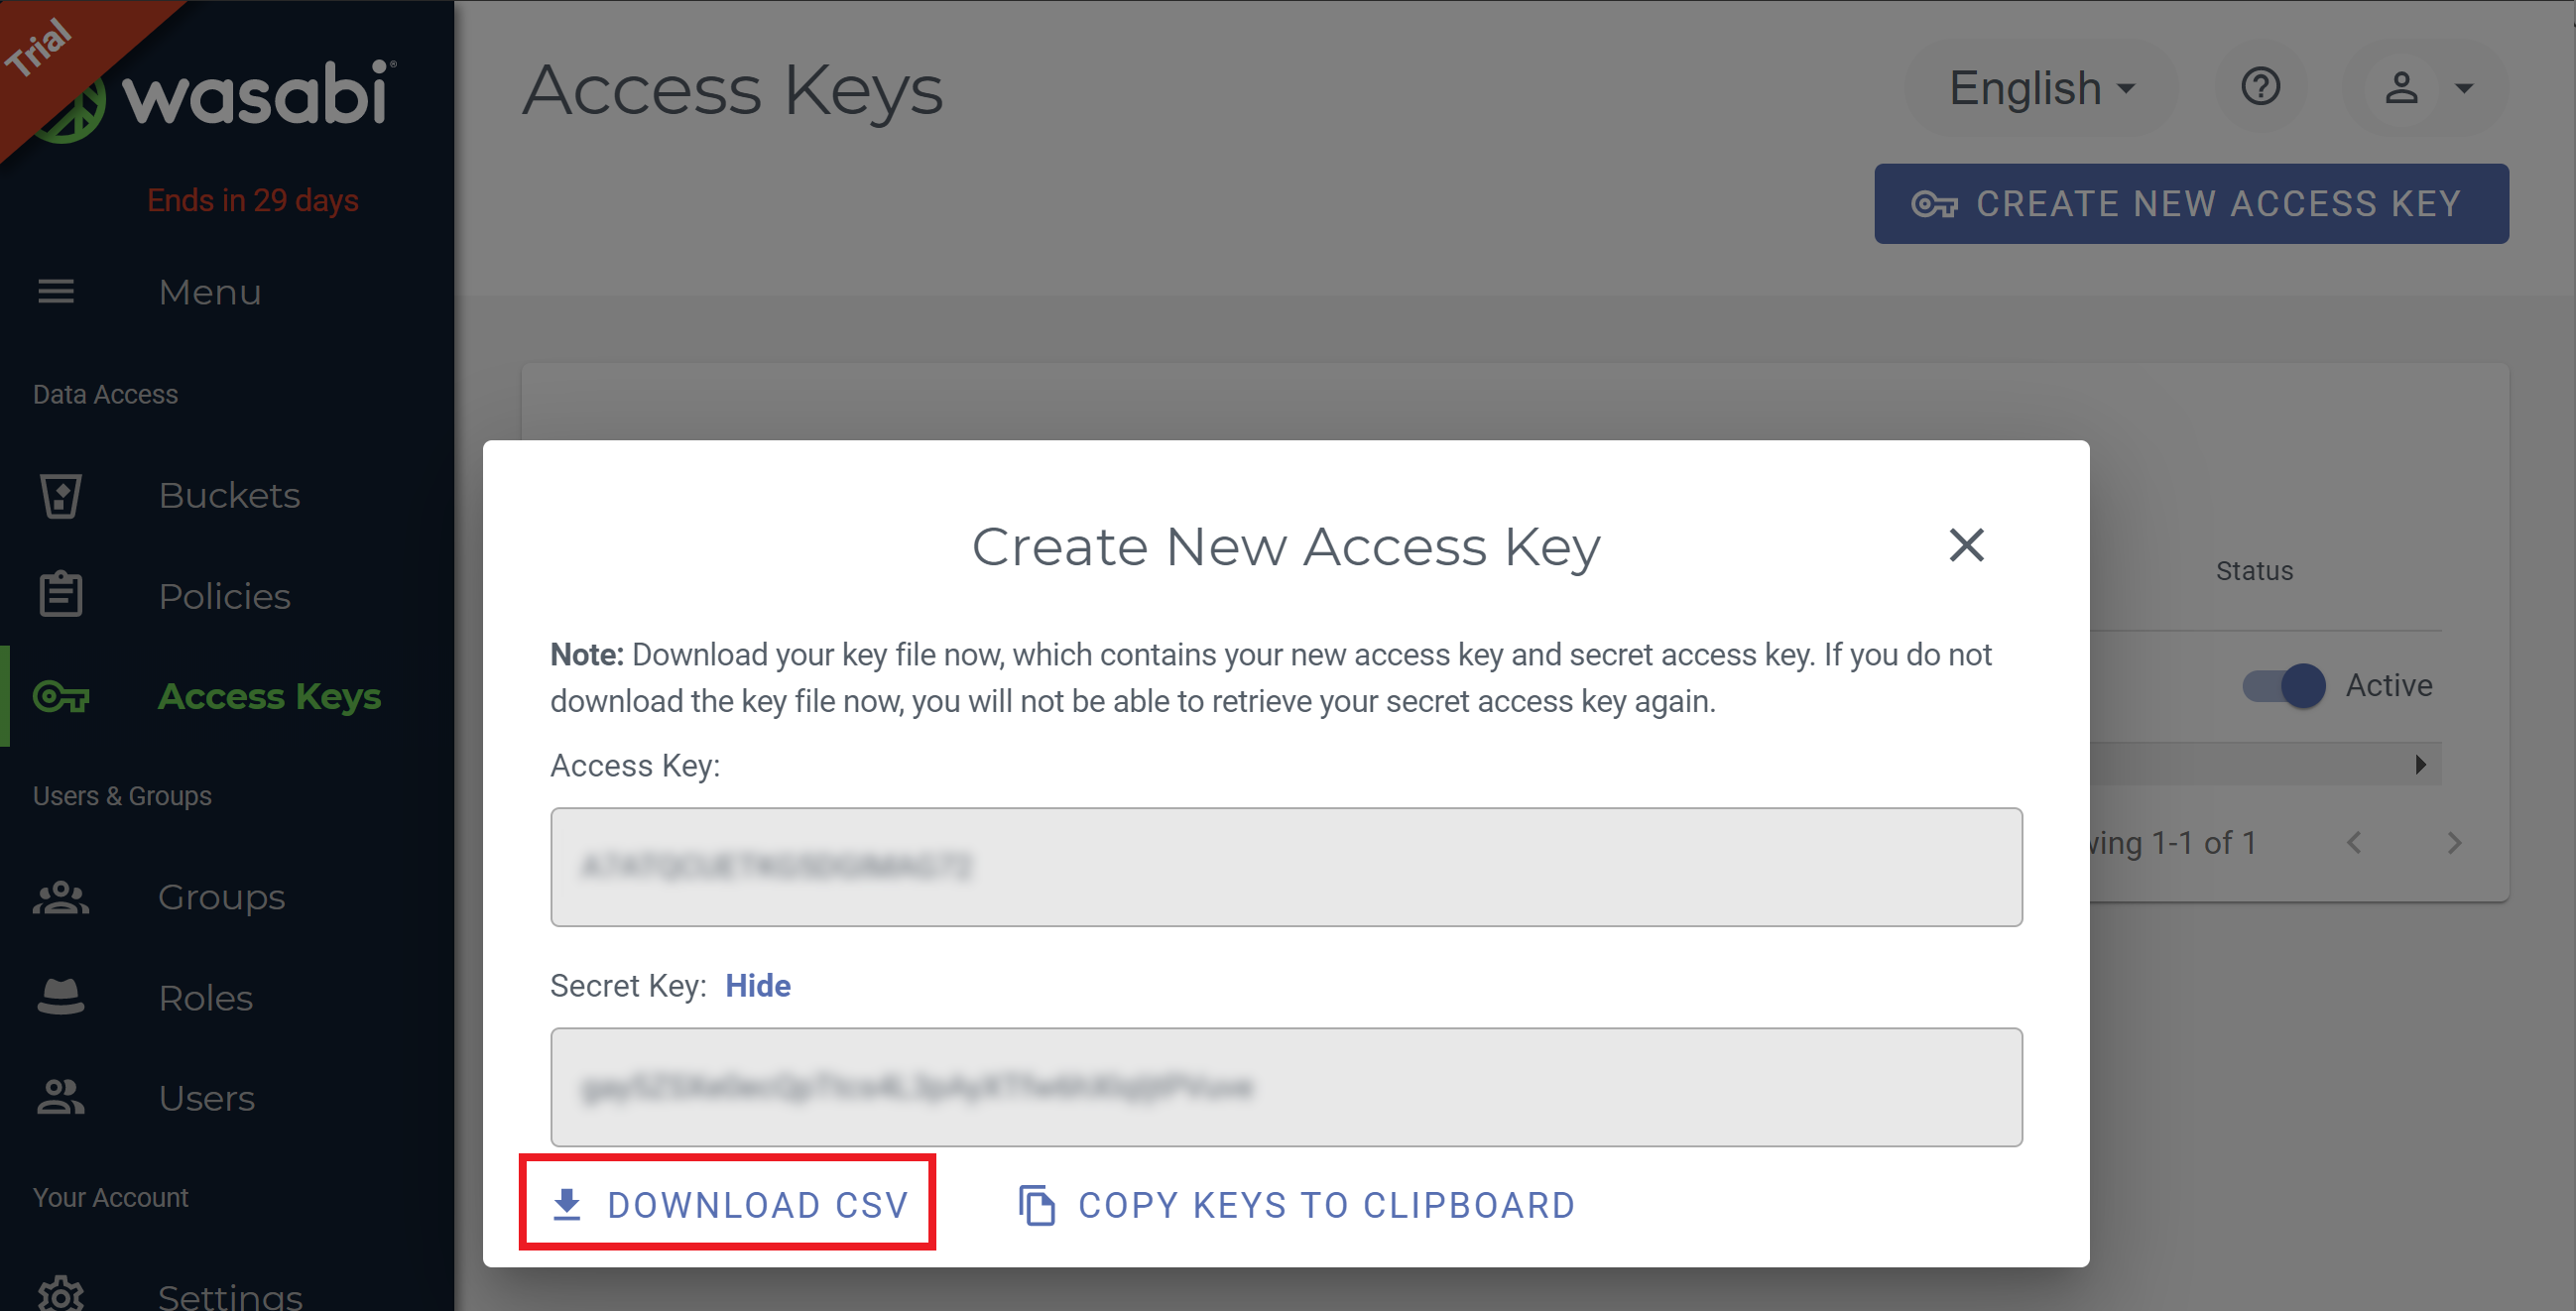
Your credentials will be created and displayed on the screen. You’ll need to either make a copy or download the CSV file as these will not be shown again.
Step 3. Add your Wasabi API credentials to vCanopy
Back in your vCanopy account, click through to your settings page:
Here, click through to the Integrations page, click Backup Providers, and enter your API details in the Wasabi tab:
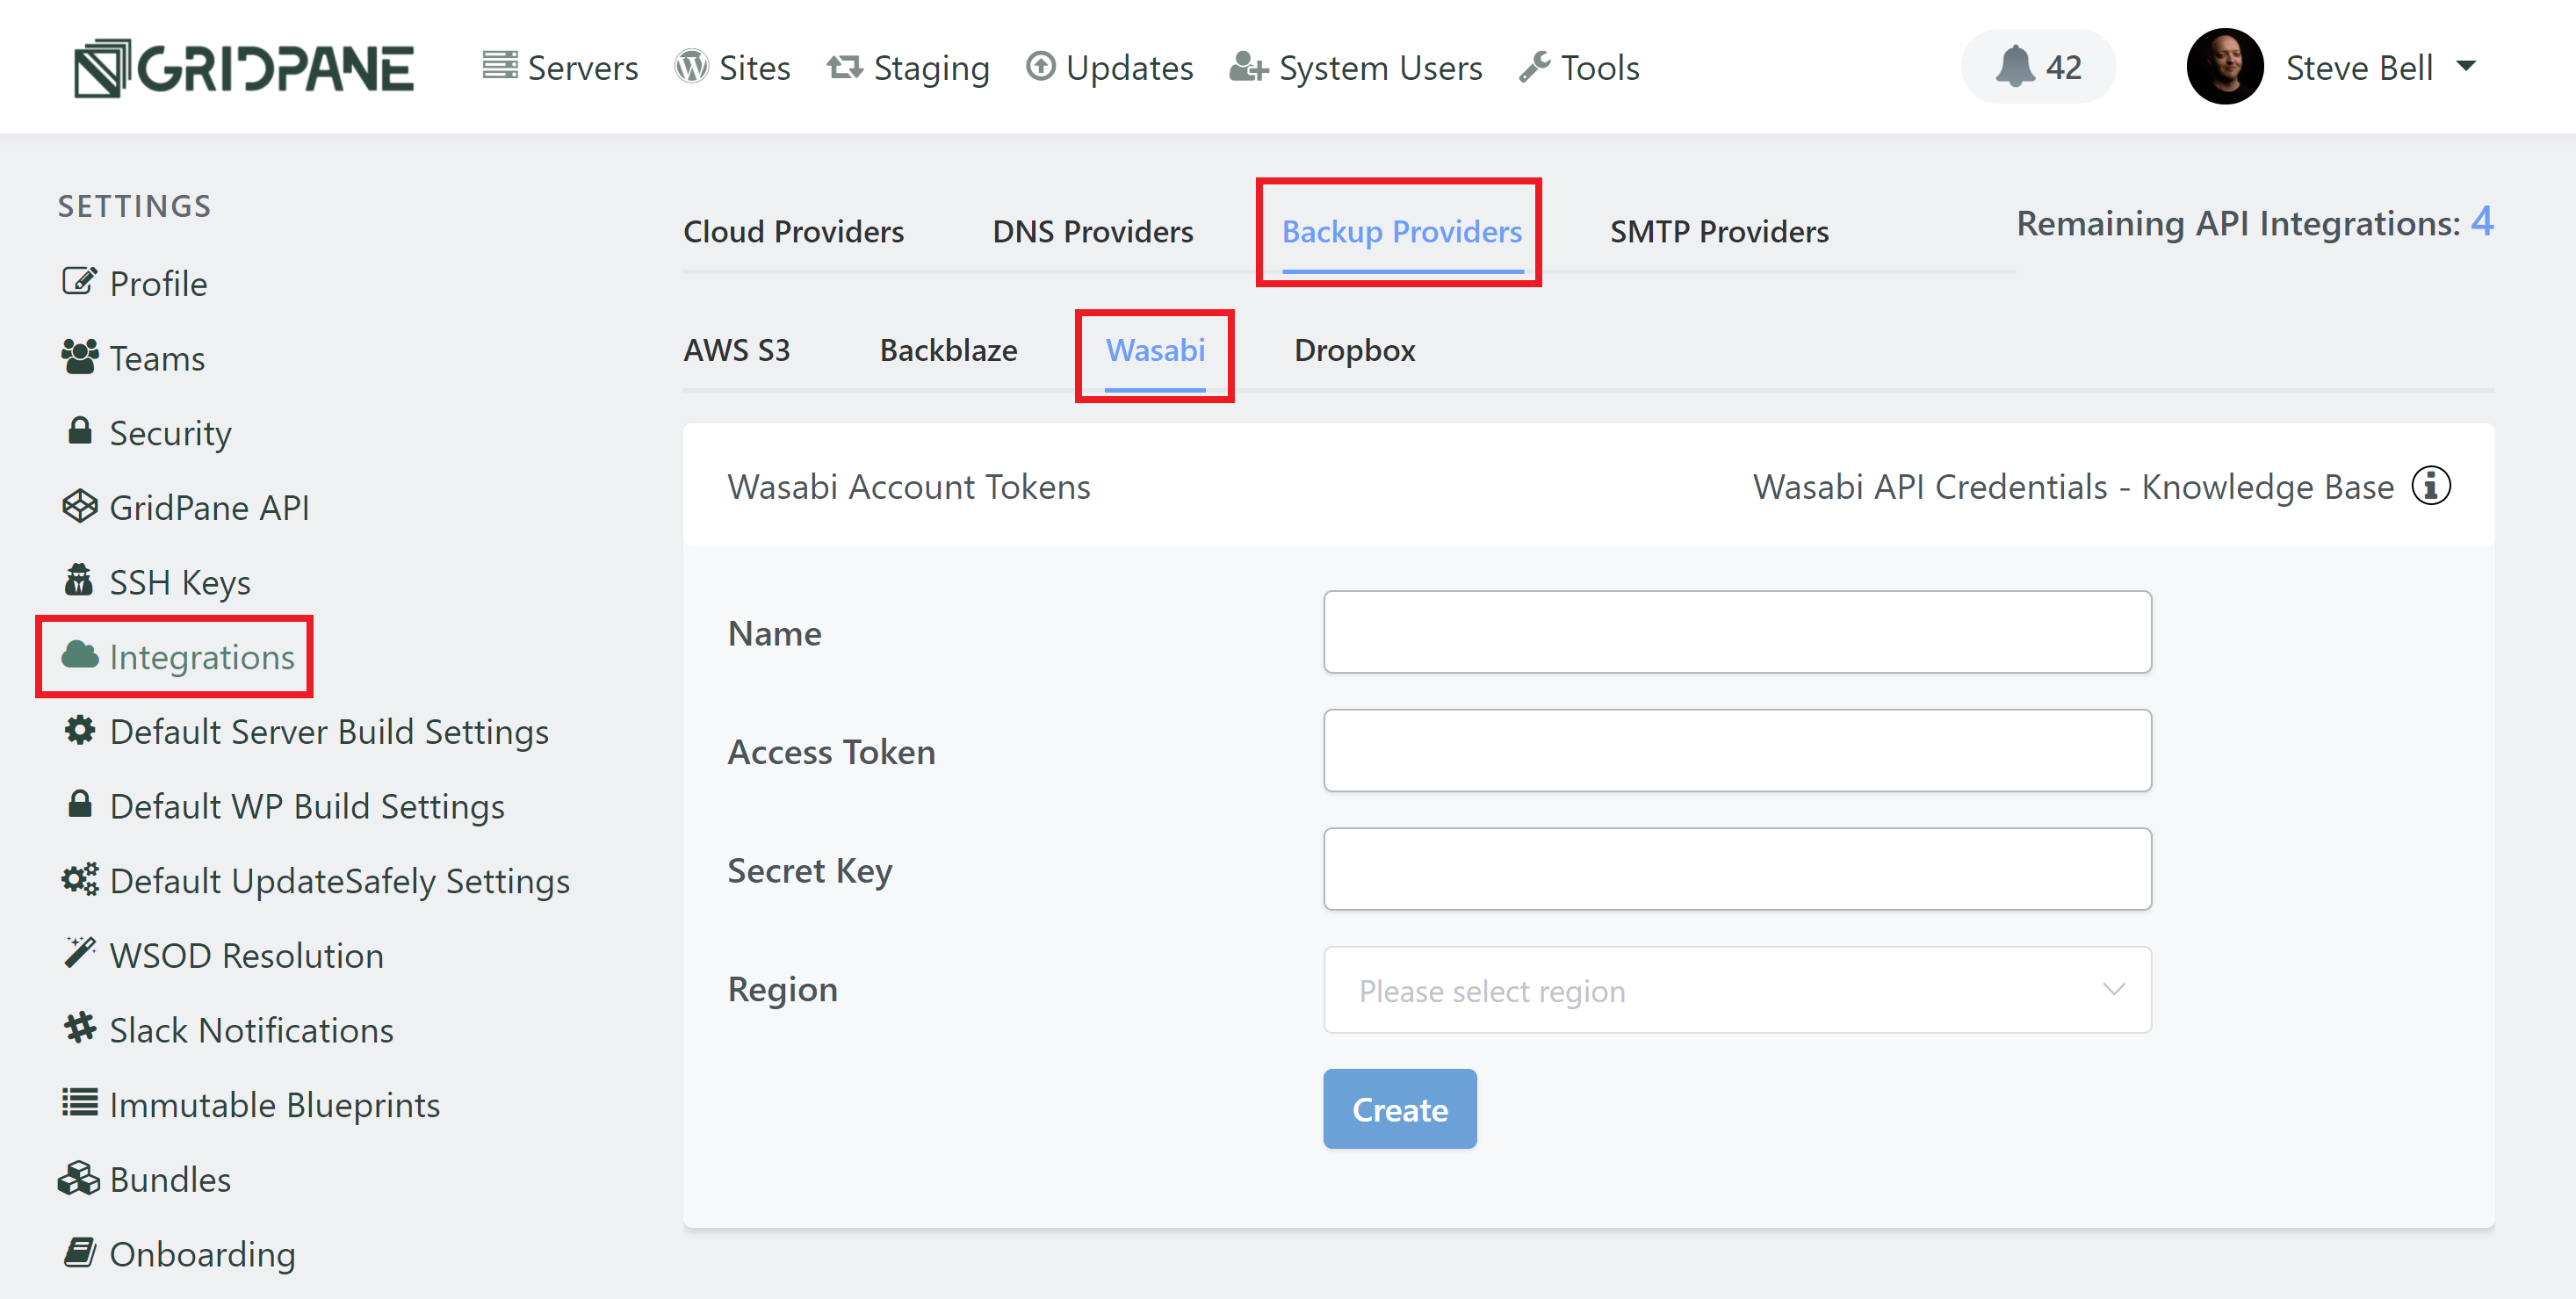
Enter your Wasabi credentials:
- Give your key a name.
- Access ID Key = Access Token
- Secret Access Key = Secret Key
- Then choose your preferred datacentre from the dropdown, and click the Create button.
You’re all set!
To learn how to configure remote backups for your websites check out the following article for a full walk-through: