Your servers using the vCanopy stack are highly secure, but you also need to protect your vCanopy account.
Maintaining proper password etiquette is always highly advised, however, we can strengthen our security even more if we employ what is known as 2 Factor Authentication or 2FA.
Put simply, 2FA is an extra layer of protection over our passwords that requires an interaction with a second device, usually a mobile phone, before we can log in to any service on our primary device. vCanopy integrates with Google Authenticator which is also compatible with the Authy 2FA service. Authy have a much more detailed explanation here.
To enable 2FA for your vCanopy account using Google Authenticator and/or Authy follow this step by step guide.
Step 1. Install Google Authenticator or Authy on one or more of your devices
Our integration is with Google Authenticator, but Authy is compatible and can be used if preferred.
GOOGLE AUTHENTICATOR
Google Authenticator has applications for Android and Apple iOS mobile devices. You can download the application for your device and install it by following the links below.
AUTHY
Authy has applications for Android and Apple iOS mobile devices, as well as an extension you can install on the popular Chrome desktop Browser. You can download the application for your device and install it by following the links below.
Once you have installed the application on your device, follow the instructions to configure it properly.
Step 2. Go to your vCanopy Settings
When you are already logged in to your vCanopy account and click the Your Settings menu item in the dropdown menu accessible by clicking on your username and icon.

Step 3. Navigate to your security settings
Navigate to the Security settings panel by clicking on the Security option in the left horizontal menu.

Step 4. Enable Two Factor Authentication.
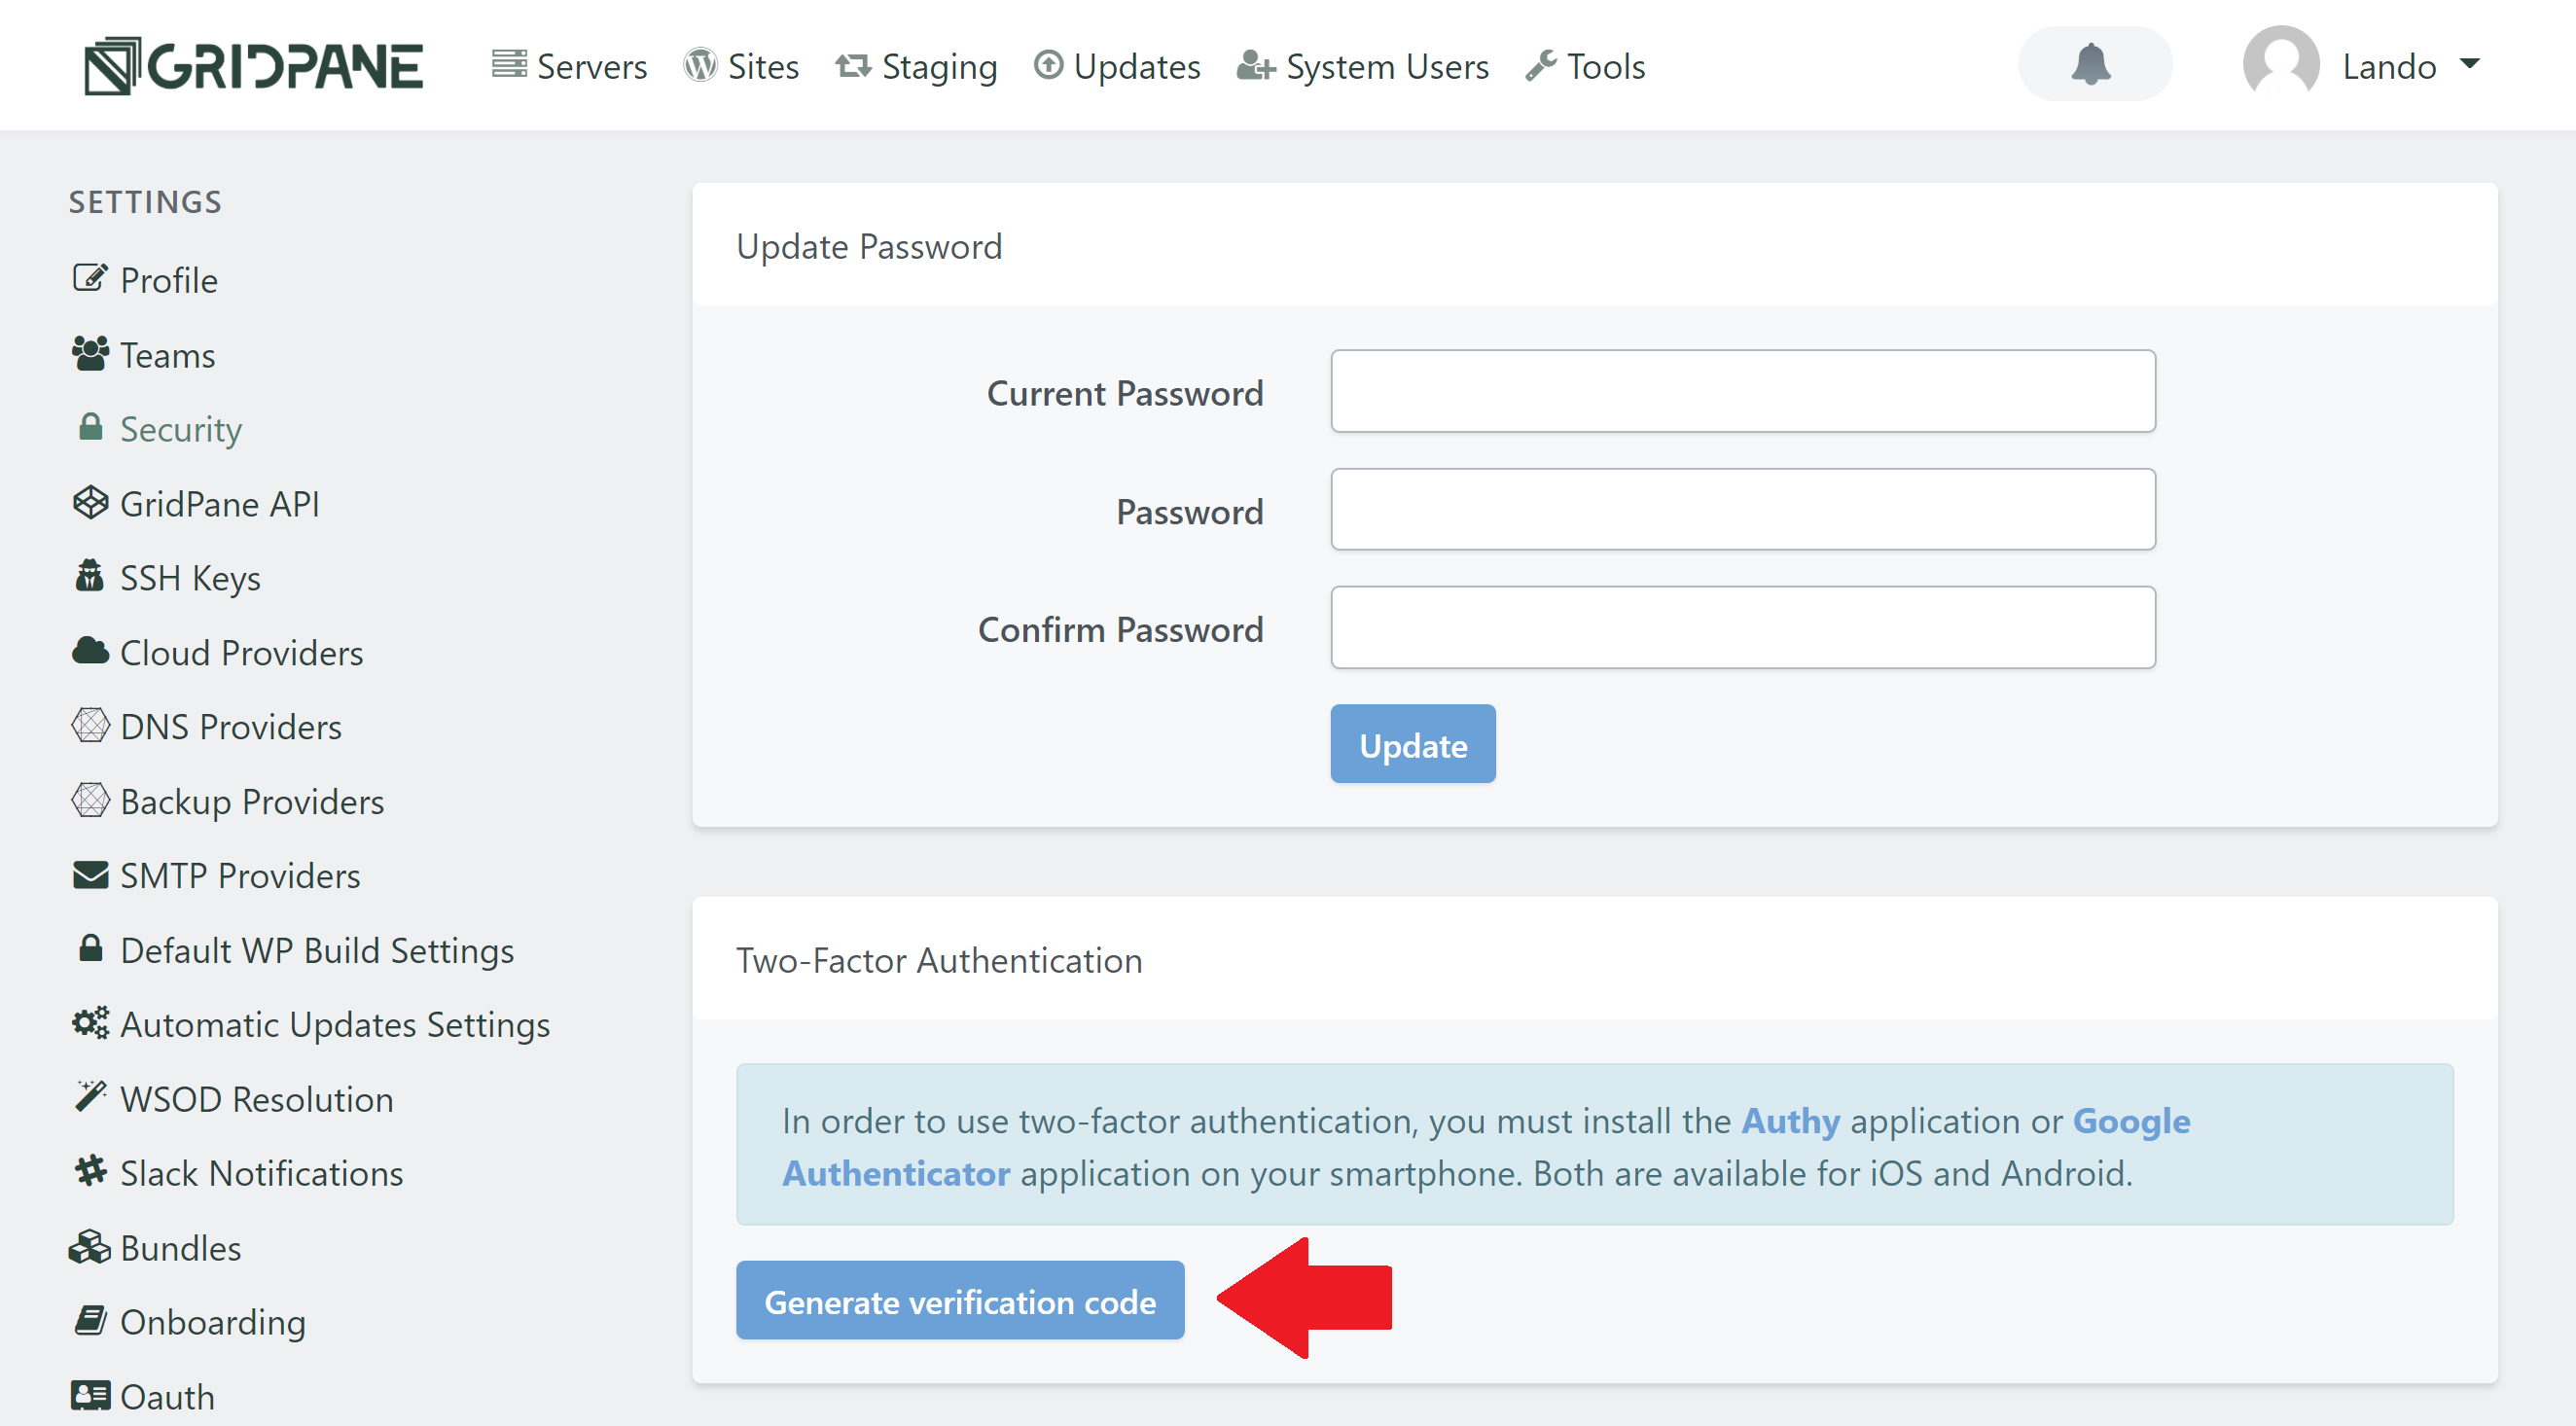
In the Two Factor Authentication panel, click the “Generate verification code” button:
This will present you with a QR code that you can scan:
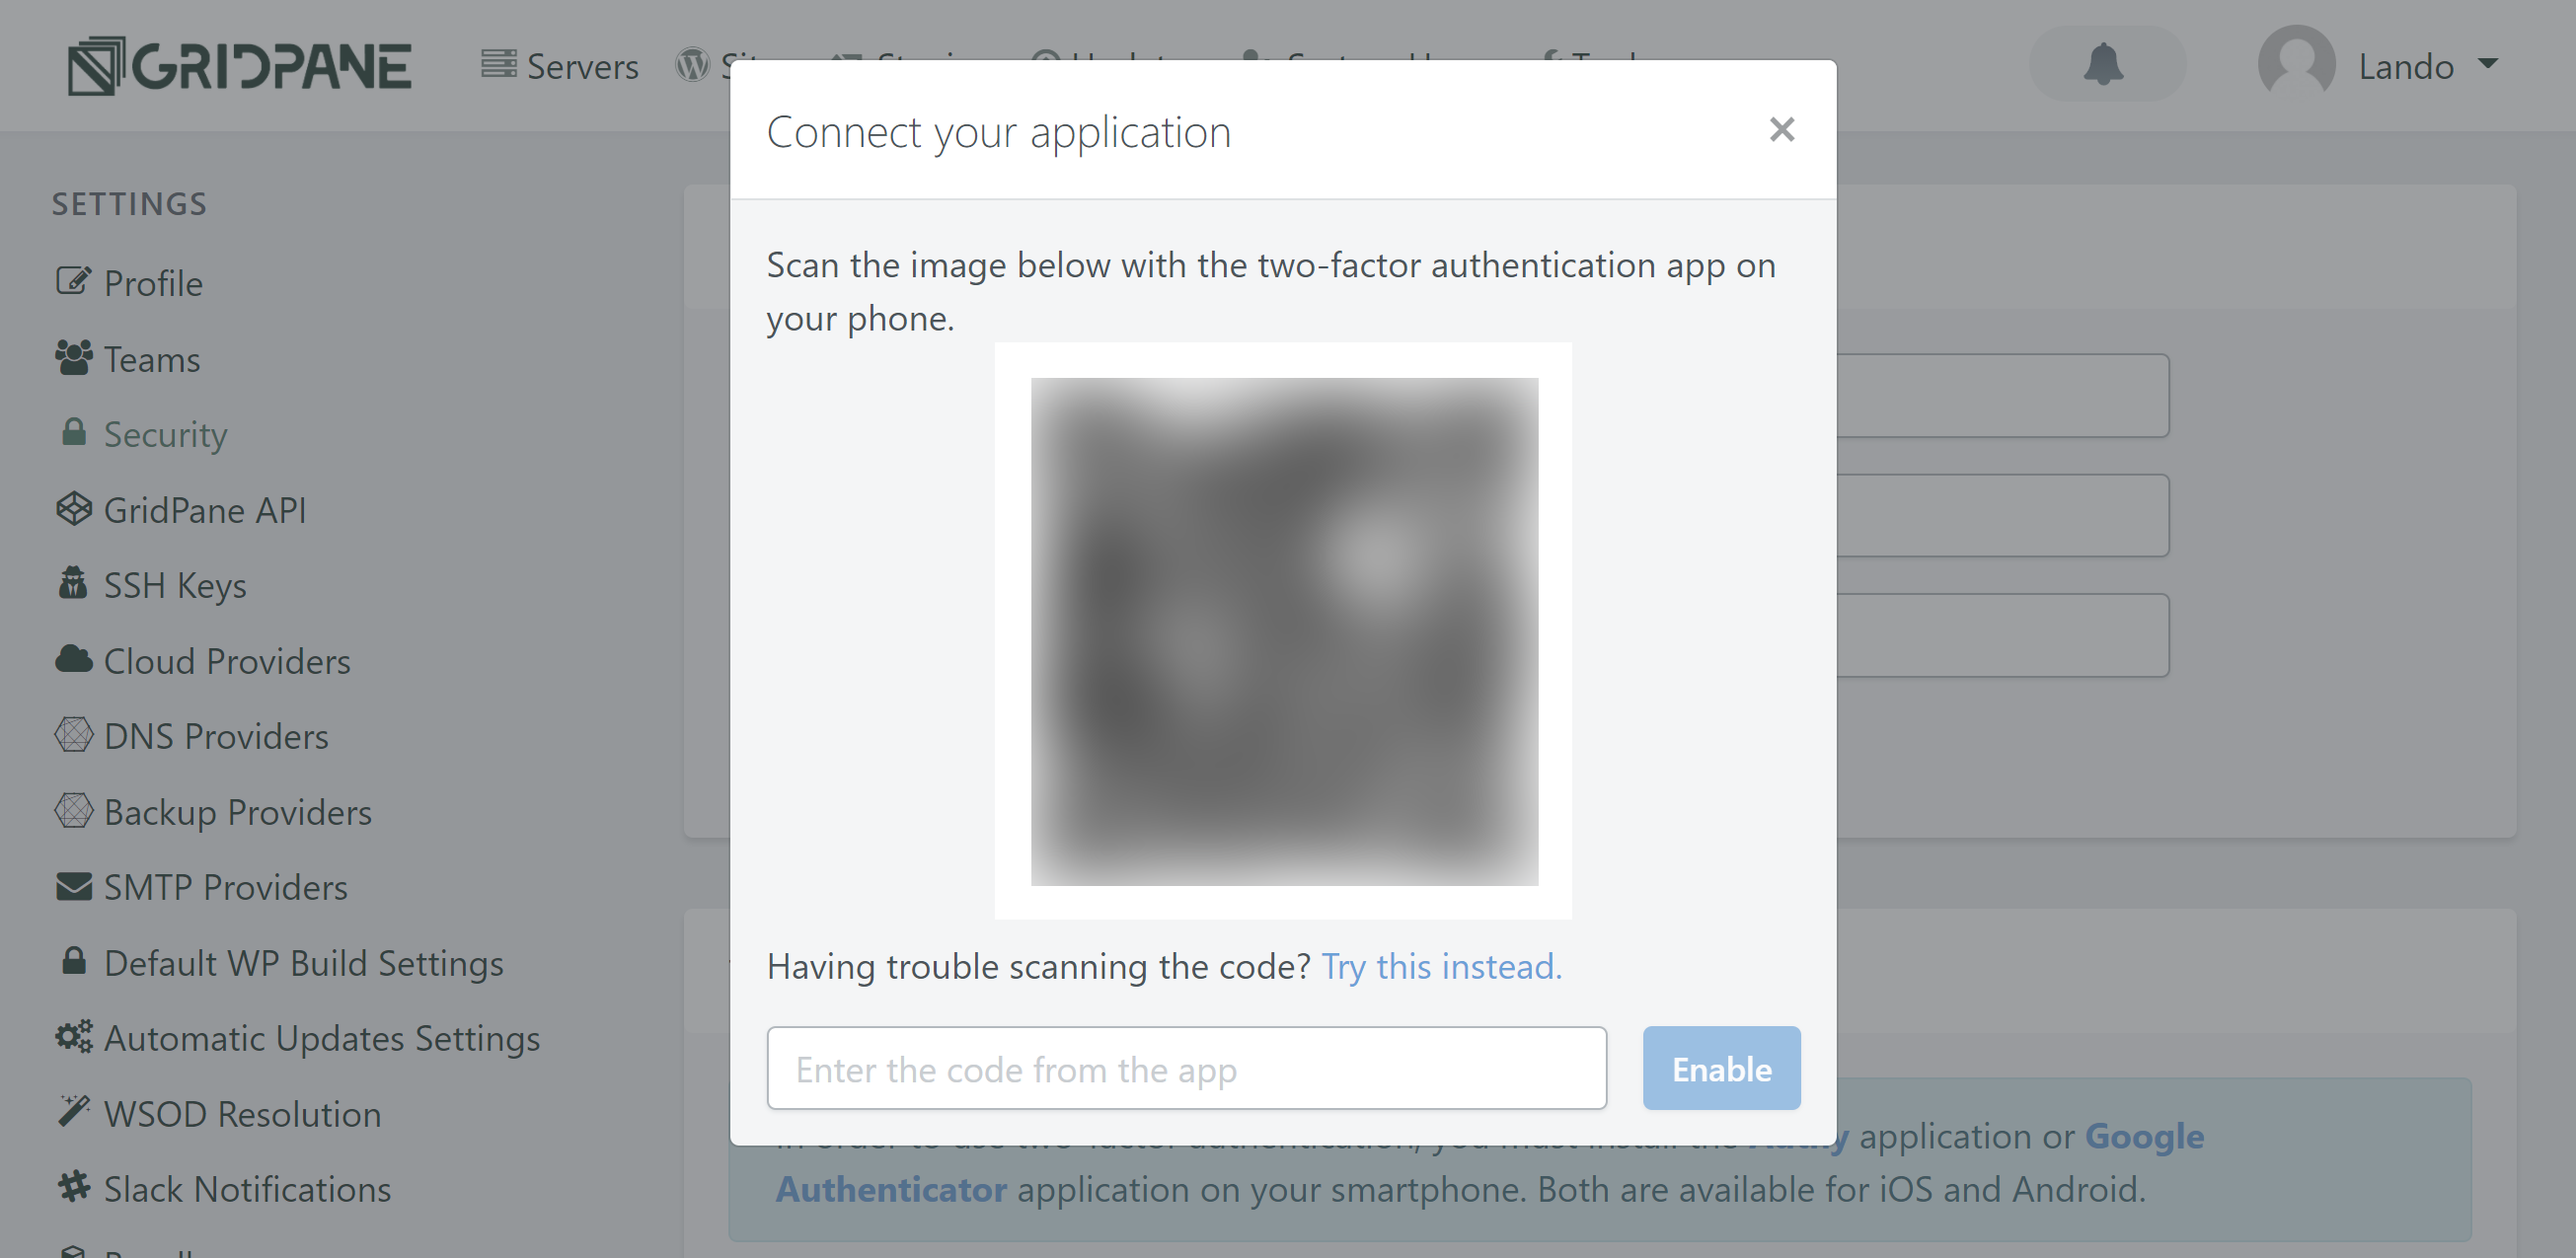
Once scanned, enter the code from inside your app and click the “Enable” button.
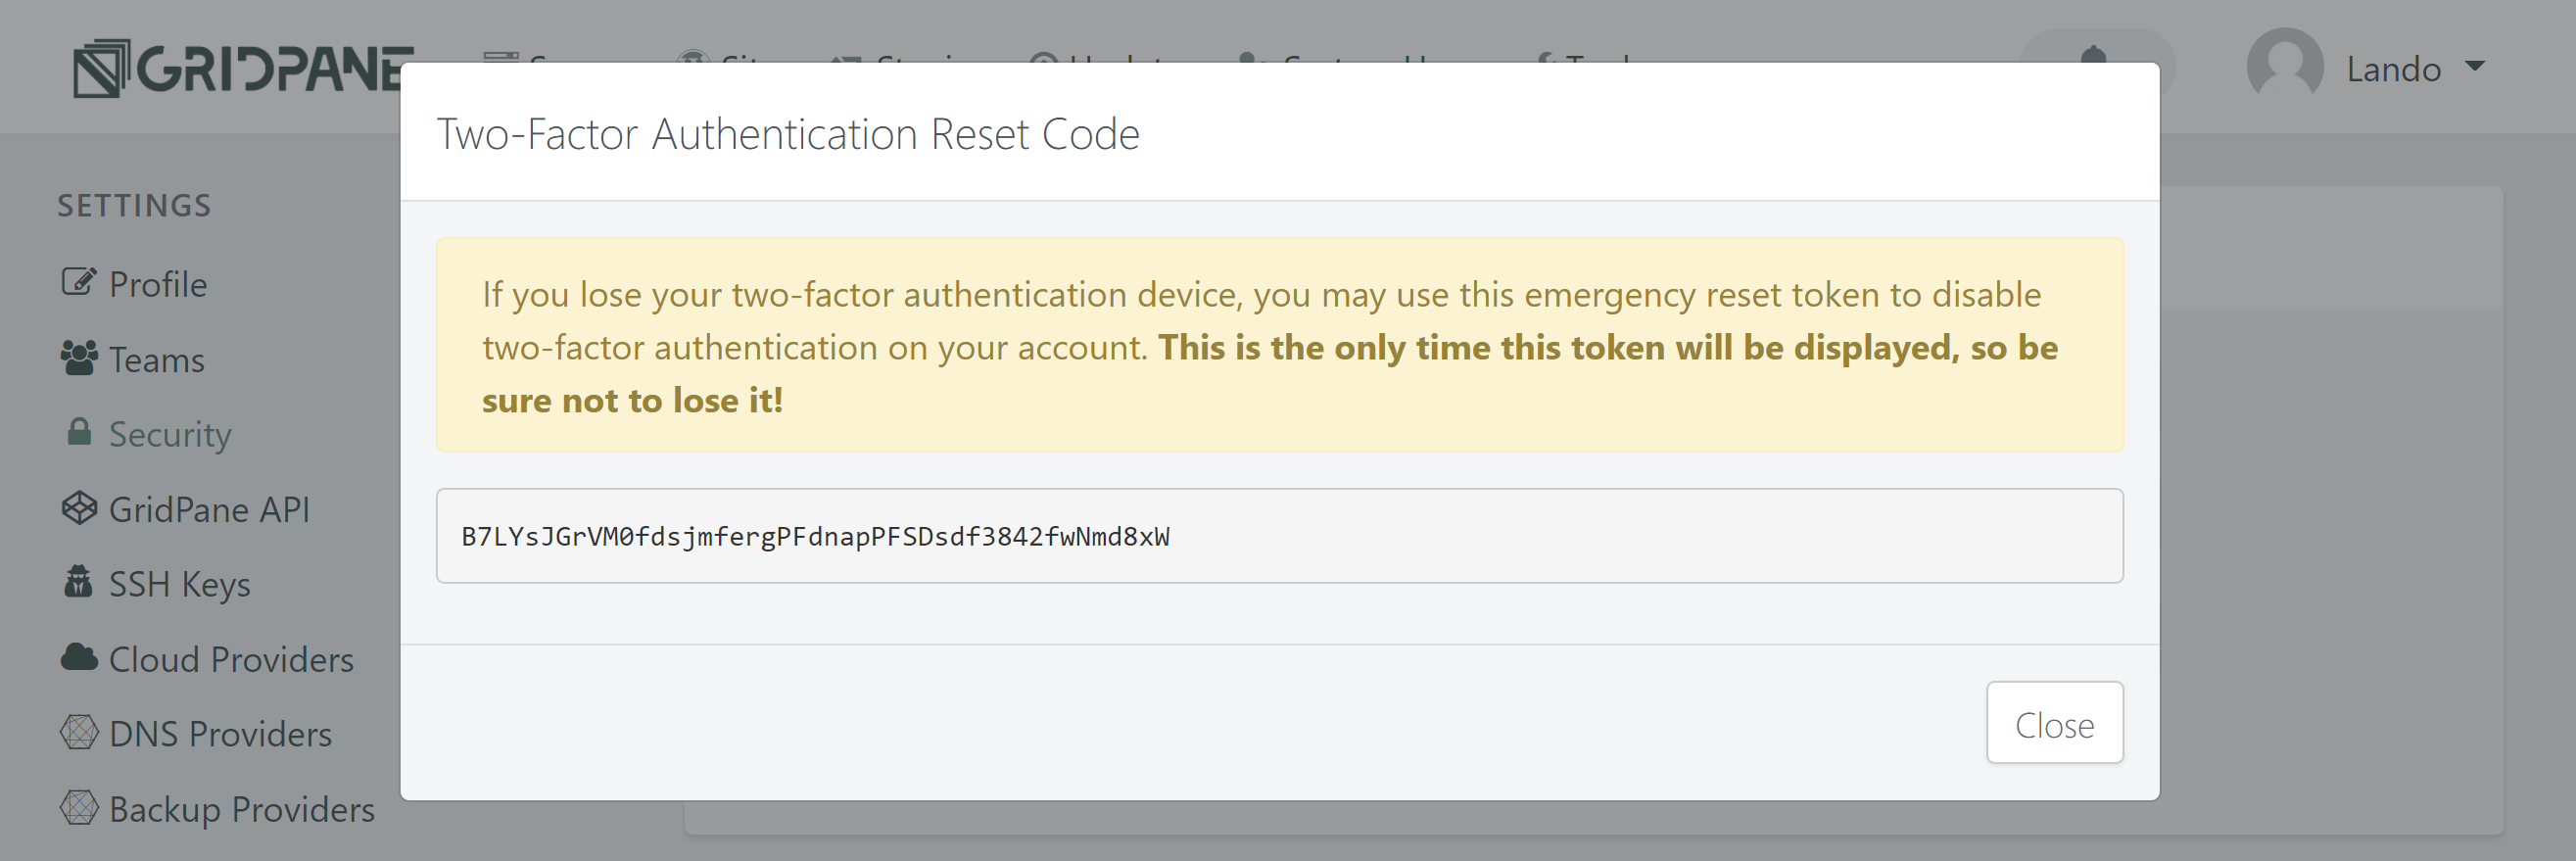
vCanopy will then provide you with a Two-Factor Authentication Reset Code. You will be able to use this token to disable 2FA on your account in an emergency. This is the only time this token will be displayed, so make sure not to lose it.
The security panel for two-factor authentication will now only display a button to Disable Two-Factor Authentication.

Your device is now configured as the secondary device for 2FA login to vCanopy.
Step 5. Login with Two-Factor Authentication
You can test that 2FA is working by either logging out of your current vCanopy session, or by logging in to your account in a separate browser.
When you go to login you will be prompted to login as usual.
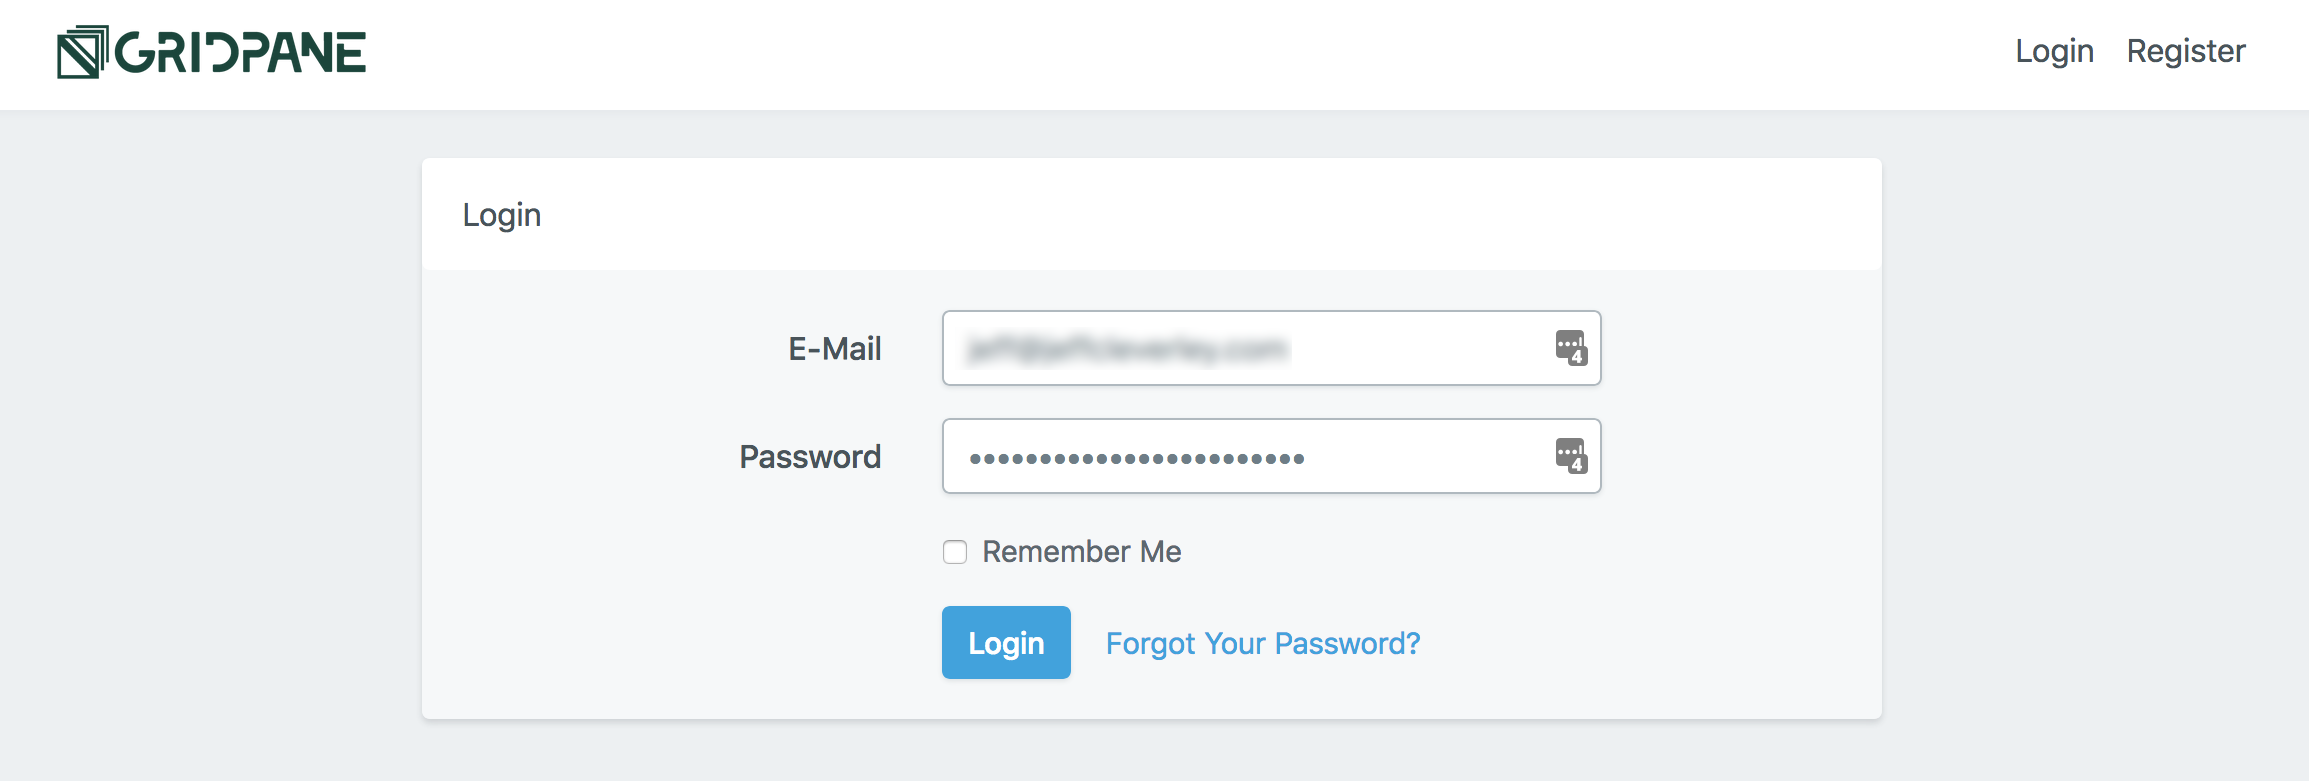
Once you have logged in with your usual credentials you will now be presented with a second Two-Factor Authentication login panel that requires an Authentication Token.

Open your vCanopy account in any of your authorised Apps and you will be presented with your vCanopy2FA TOKEN.
Enter it in this Authentication Token input field and click verify.
You will now be logged in to your vCanopy account.
Emergency Login if you lose your device
If you don’t have access to your 2FA devices, either because you have lost or misplaced them, and you need to access your account, then you can use the Two-Factor Authentication Reset Code you were provided in Step 4 above.
At the 2FA authentication step above, click the Lost Your Device? link.

A Login Via Emergency Token panel will be presented.
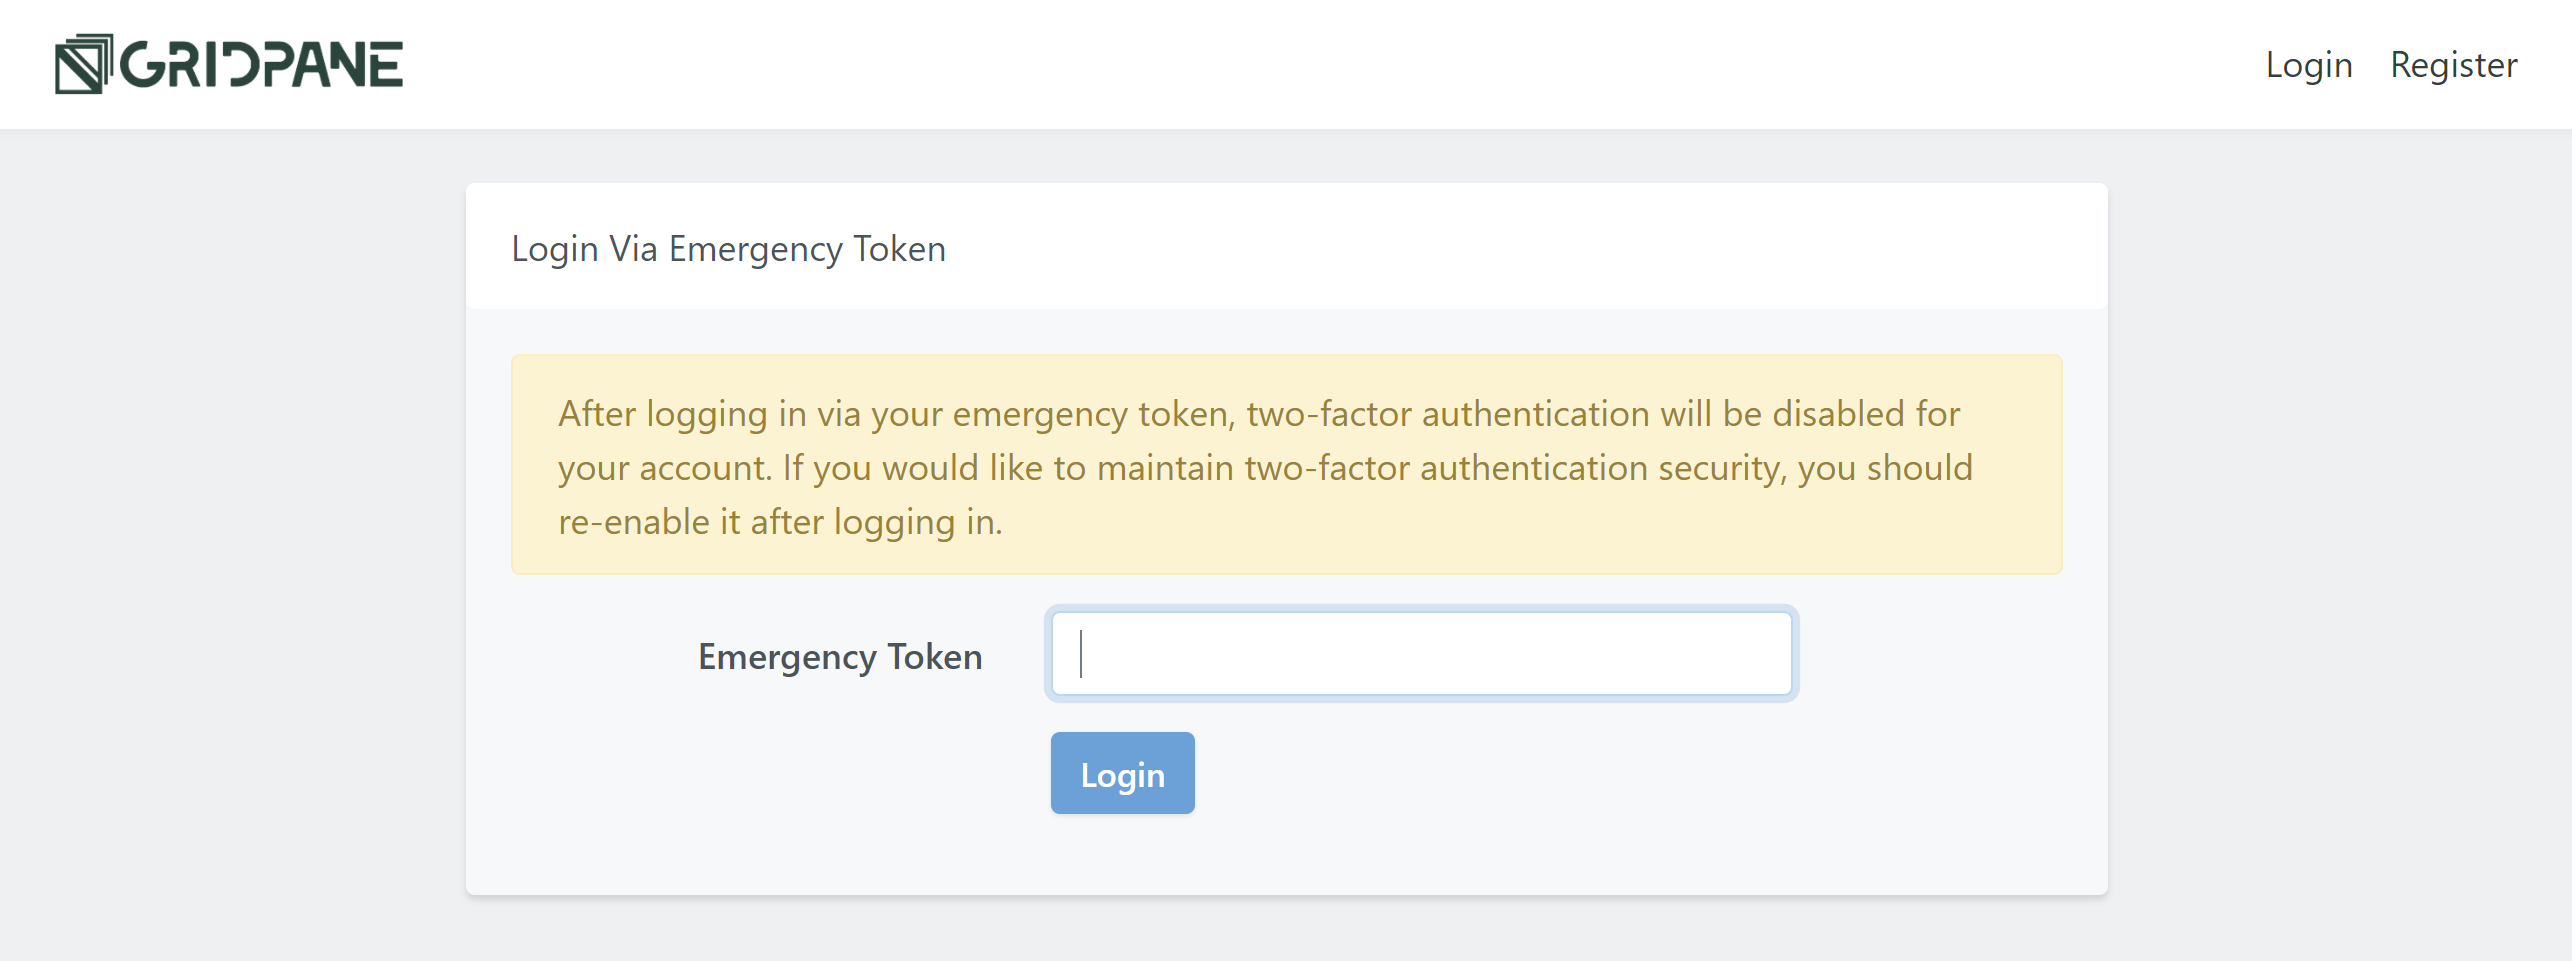
Simple enter the Two-Factor Authentication Reset Code you were provided above and click Login.
IMPORTANT
Logging in with your emergency token will disable 2 Factor Authentication, if you want to continue using 2FA you will need to re-enable it after logging in.


